Feeding a crowd? Make a big pot of beef chili with beans! Simmer the chili until you’re ready to serve it with all the toppings everyone loves.
Recipe Overview
Why you’ll love it:If you end up with leftover chili, freeze it for an easy meal in the future.
How long it takes: a half hour to prep, and an hour to simmer (longer is okay, too)
Equipment you’ll need: large Dutch oven or soup pan
Servings: 10

I should begin by saying I hardly ever make chili the same way twice, and typically never measure anything. I have several tried and true recipes for chili (keep reading for a list of those recipes). So why don’t I stick to the recipes? I’m just a gal who likes to improvise, I guess.
Don’t get me wrong! My chili recipes are always good (if I do say so myself). It’s just not one of those meals where I take the time to be particular about things. Making chili is the same general process each time but it always varies a bit depending on which veggies and meat I have available.
If I have red peppers in the house, they are going in. If they happen to be green? No biggie, they’ll taste great! Ground turkey instead of beef? Sure! Maybe even some of each. Beer in the fridge? Better believe that’s going in.
However, I decided to actually measure things for this beef chili with beans so I could share the recipe with you. By the way, I purposely made it a mildly spicy chili because I know that not everyone likes it hot. Feel free to amp it up if you like your chili a little spicier.
About This Recipe
For this chili recipe, I stuck with ground beef because it’s what most people are used to. I remember my grandma’s chili with ground beef, canned tomatoes, and kidney beans. She kept it easy and used a packet of seasoning called French’s Chili-O (I think it’s still available today, but I recommend my homemade chili seasoning!). She absolutely never added beer. I don’t recall ever seeing beer in my Grandma’s fridge. We loved that chili!
You’ll find lots of tomatoes and beans in this chili, along with bell peppers and onions. I even throw in carrots for added veggie power, and to add just a bit of sweetness to balance the acidity of the tomatoes.
And, yes, there’s beer in this chili. I like a medium dark beer such as Shiner Bock (IBU 13) or Modelo Negro (IBU 19). A super hoppy beer with a higher IBU tends to make the chili taste bitter so you’ll want to avoid those. Try a lager, red ale, or stout. You can leave the beer out if you want to.
What Does IBU mean?
IBU stands for International Bitterness Units. This scale is used to measure the acid found in hops (isohumulone) which makes the beer taste bitter. It’s measured in parts per million. Beers which are described as “hoppy”, such as India Pale Ales (IPAs), usually have a higher IBU rating.
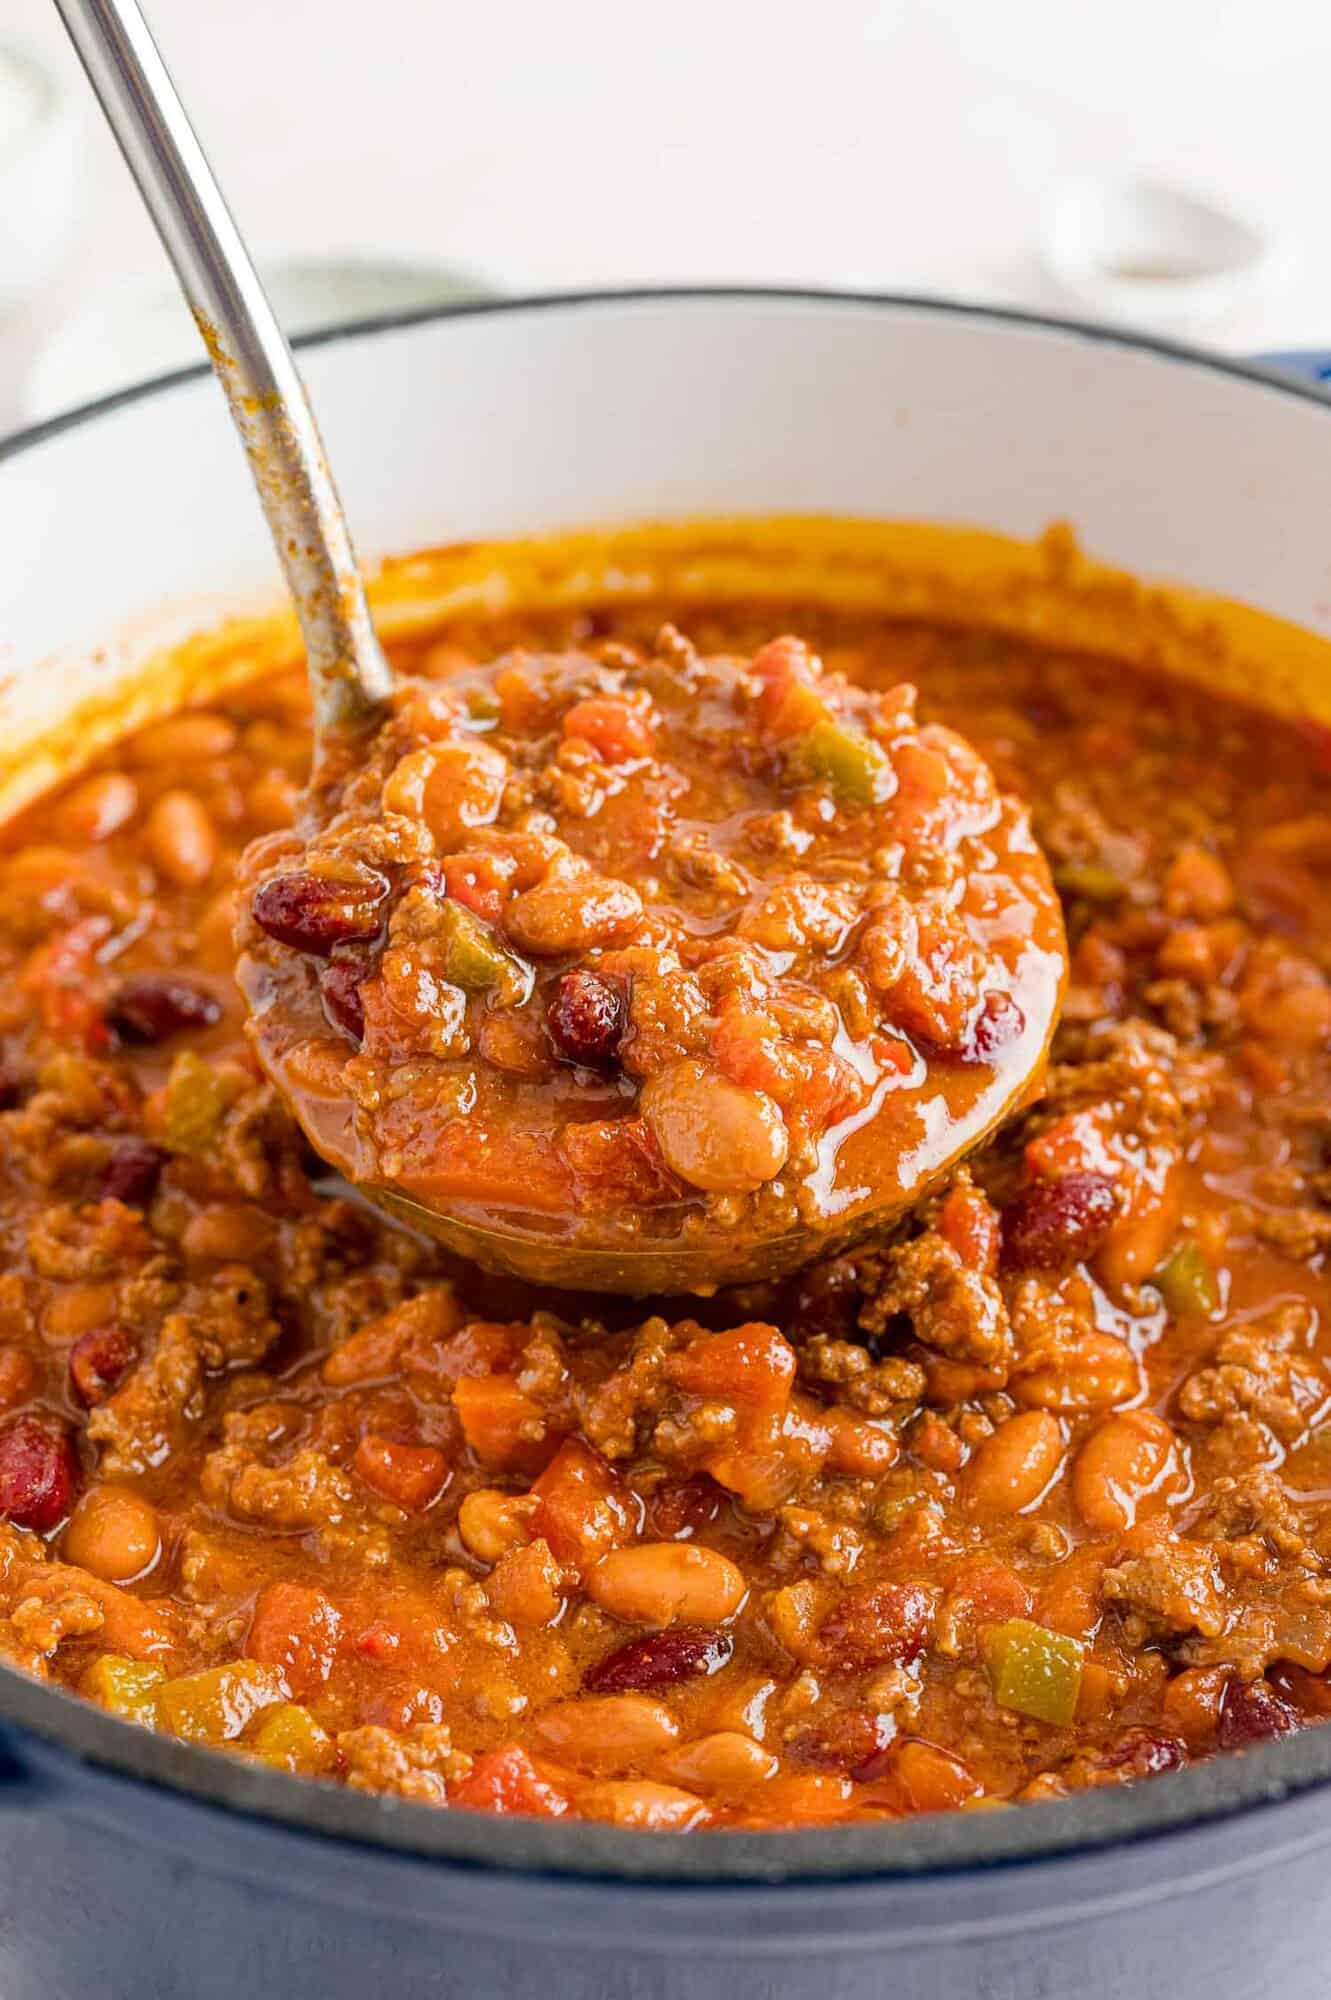
Let’s get started on the chili here and I’ll help you out with extra information about ingredients and the process. You’ll find measurements and instructions on the printable recipe card below.
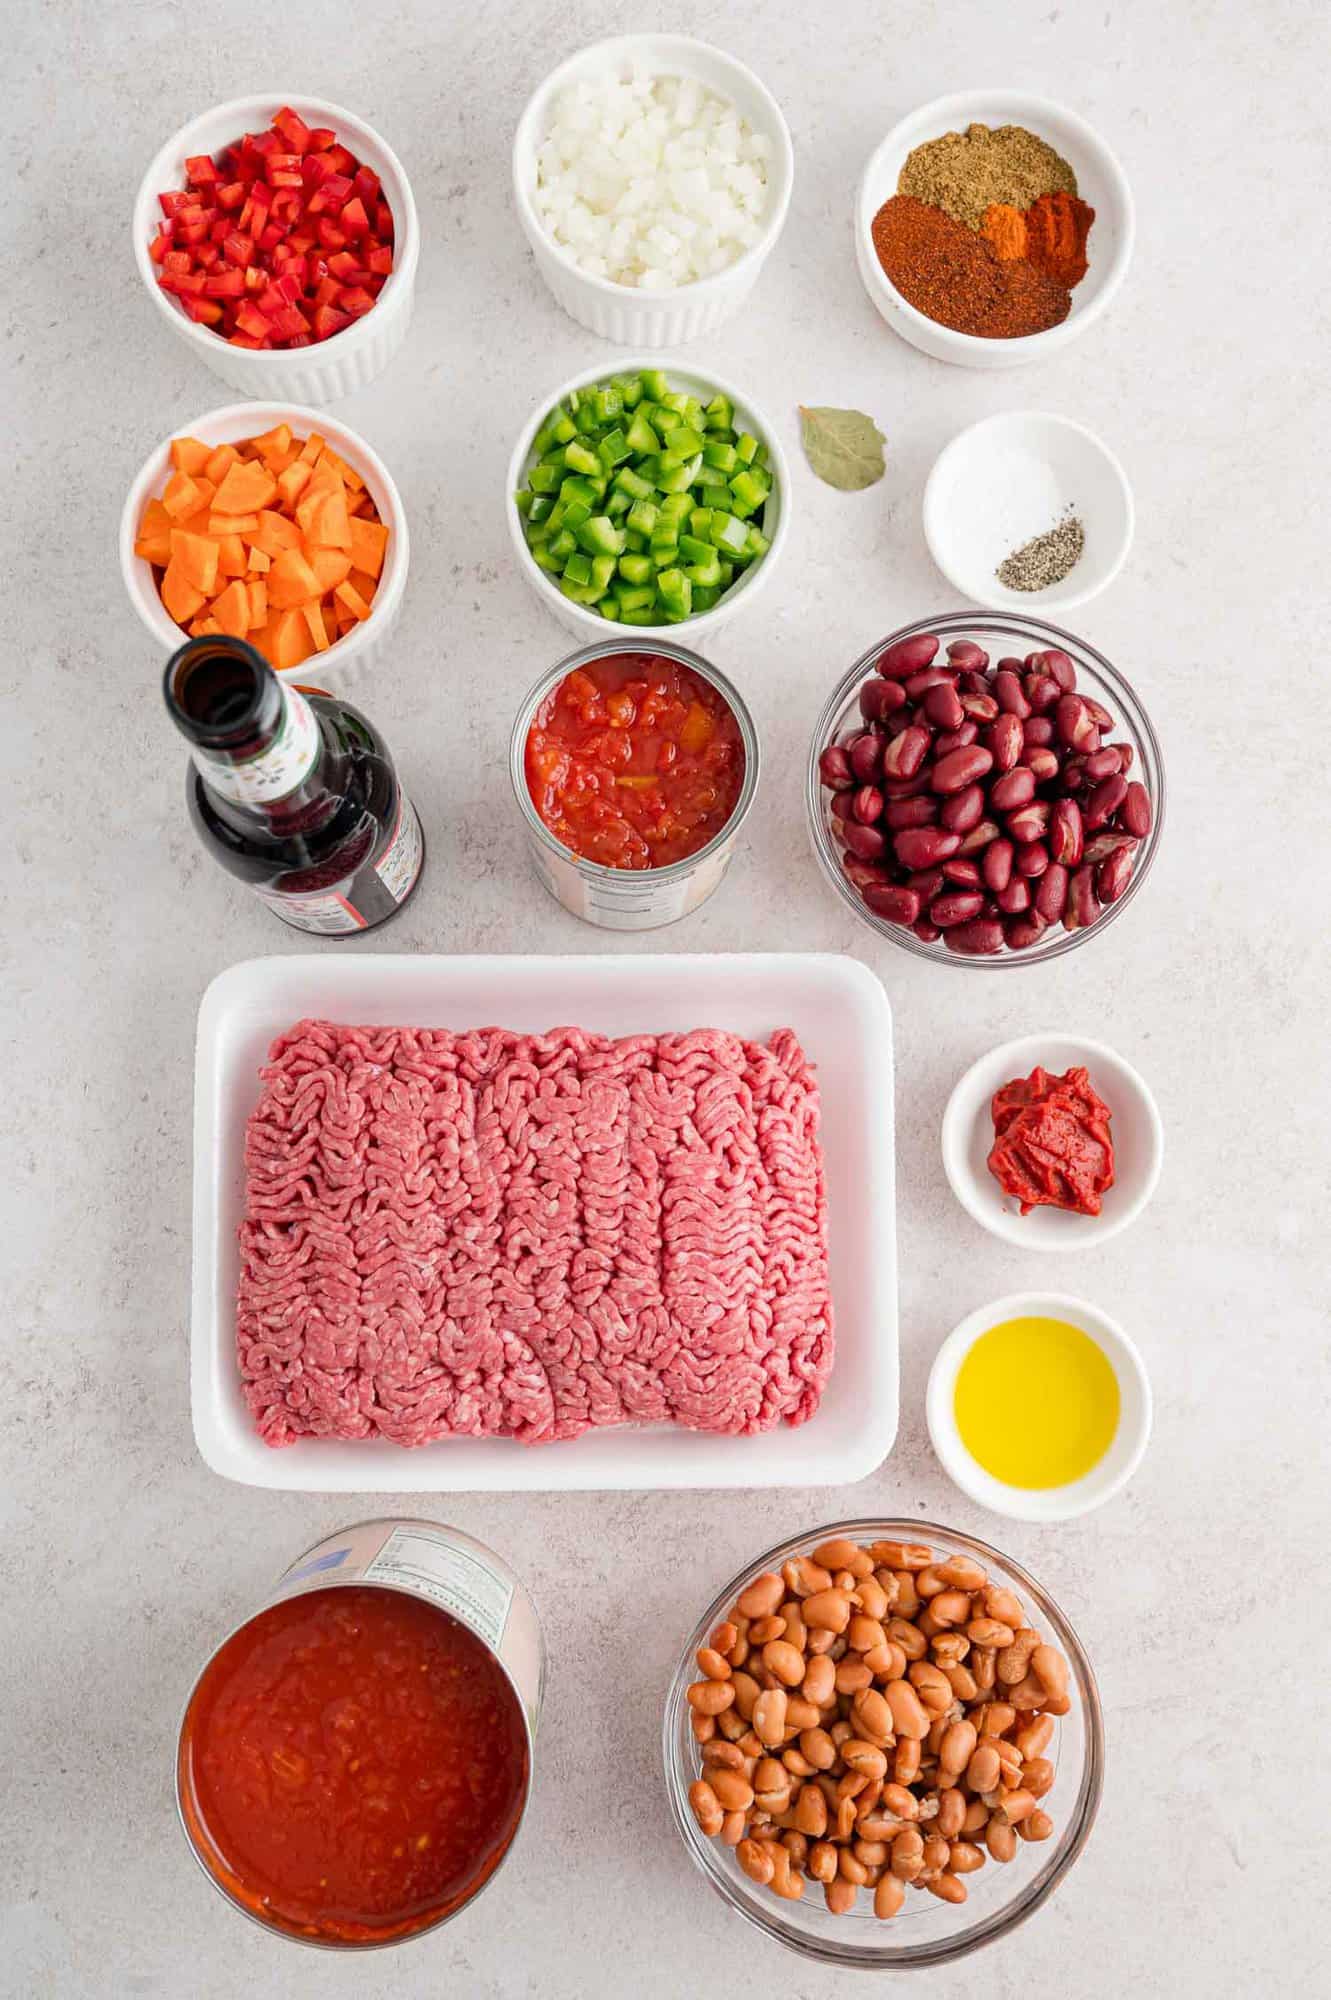
What You’ll Need
- Ground Beef: This is a meaty chili with two pounds of ground beef. Choose a lean cut such as 90/10 or above. Lean ground beef has less fat, more protein and is lower in calories than regular ground beef. If you prefer, choose ground turkey or use a combination of beef and turkey (which is my preference).
- Veggies: There are plenty of veggies in this chili: onions, red and green bell peppers, and carrots. They provide lots of flavor and nutrition.
- Tomatoes: You’ll find an abundance of tomatoes here, too, with a large can of crushed tomatoes, a can of diced tomatoes, and tomato paste .
- Beans: This is a meat and bean chili so it has plenty of protein, too. I like kidney beans and pinto beans in chili but feel free to sub in your favorite type of beans.
- Seasoning: Of course, there’s plenty of chili powder in this chili. Add more or less according to taste. Additional spices bolster the flavor: ground cumin, smoked paprika, cayenne pepper, a bay leaf, and of course, salt and pepper.
- Beer: Why add beer to chili? You’ll find that beer adds rich flavor to chili, along with a bit of sweetness. It can temper the spicy heat and balances the acidity level. The alcohol mostly cooks off with the long cooking time.
- Toppings: While toppings are optional, everyone loves them. Suggested toppings are sour cream (or plain Greek yogurt), avocado, cilantro, green onions, sharp cheddar cheese, oyster crackers, crushed tortilla chips.
How To Make This Chili
Let’s get started! Consider this a do-it-yourself chili class. Gather everything you need from the fridge and your pantry. You’ll need a big pan and a can opener. There are gonna be a lot of cans to open, 5 to be exact, although I have been noticing that more and more cans have a ring pull.
Begin by chopping the veggies.The recipe specifies a quarter inch dice. This is a pretty small dice which I like better for chili. The small pieces cook down more so you don’t have big chunks of veggies in the chili. It’s totally up to you though.
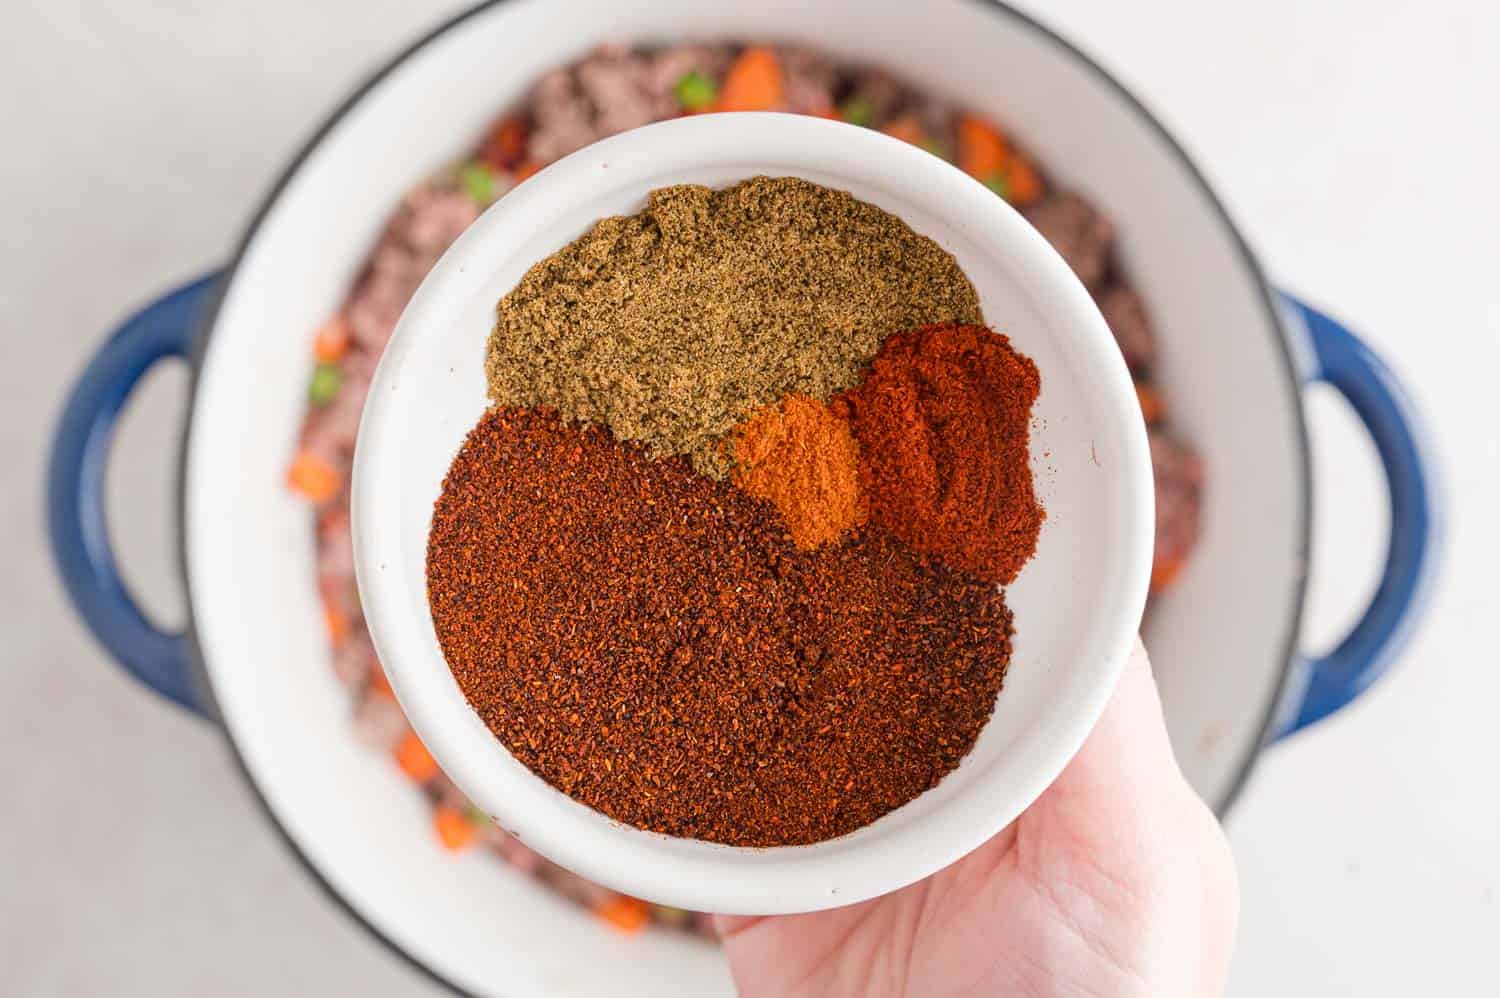
Next, measure out the spices you’ll be using: chili powder, cumin, smoked paprika and cayenne pepper. Put them into a small bowl and set them aside for now. You’ll also need salt and pepper but don’t mix them with the other spices.
Open the cans and put the beans in a colander or strainer so you can rinse and drain them.
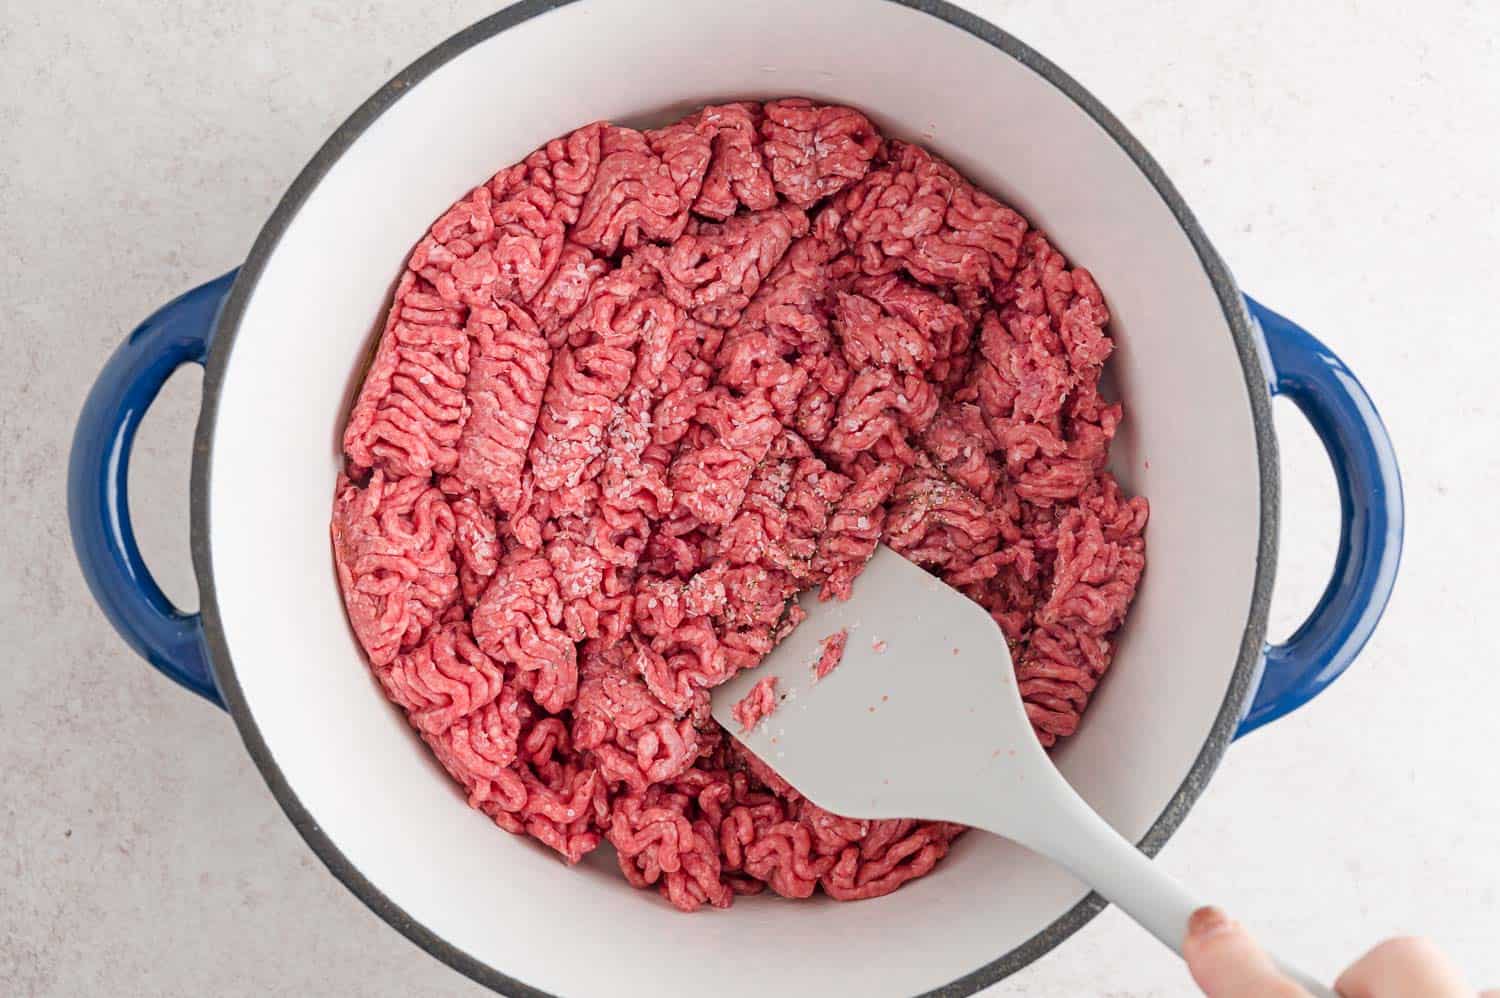
Heat a little oil in the pan, over medium high heat. Add the ground beef, salt, and pepper, and break it up into chunks.
Then the onions, peppers, and carrots.
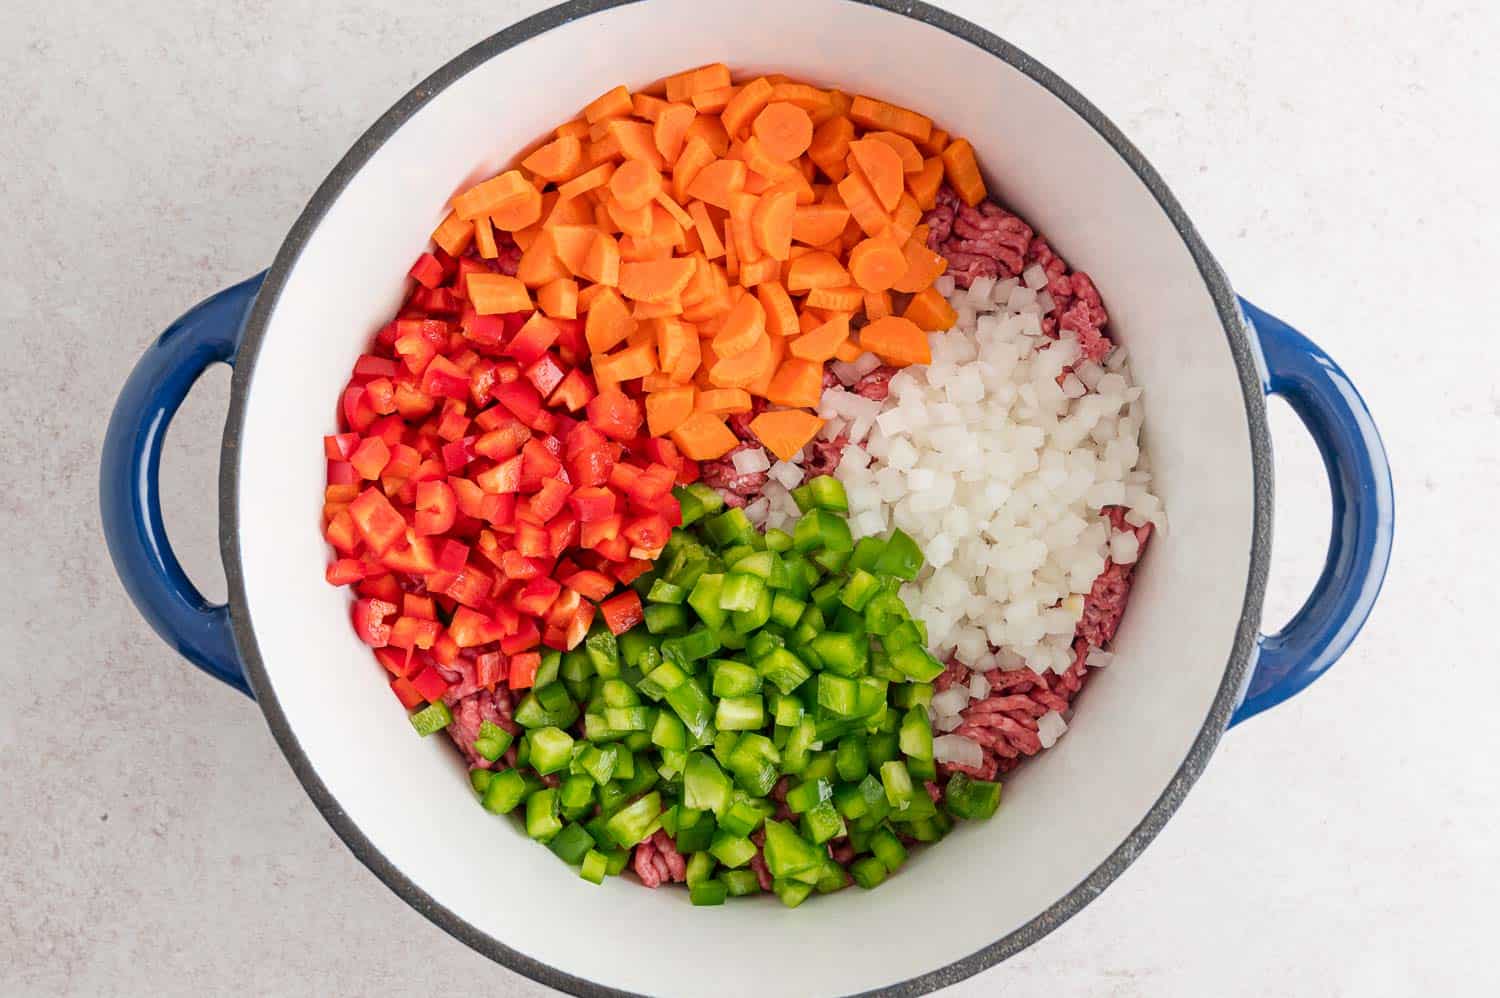
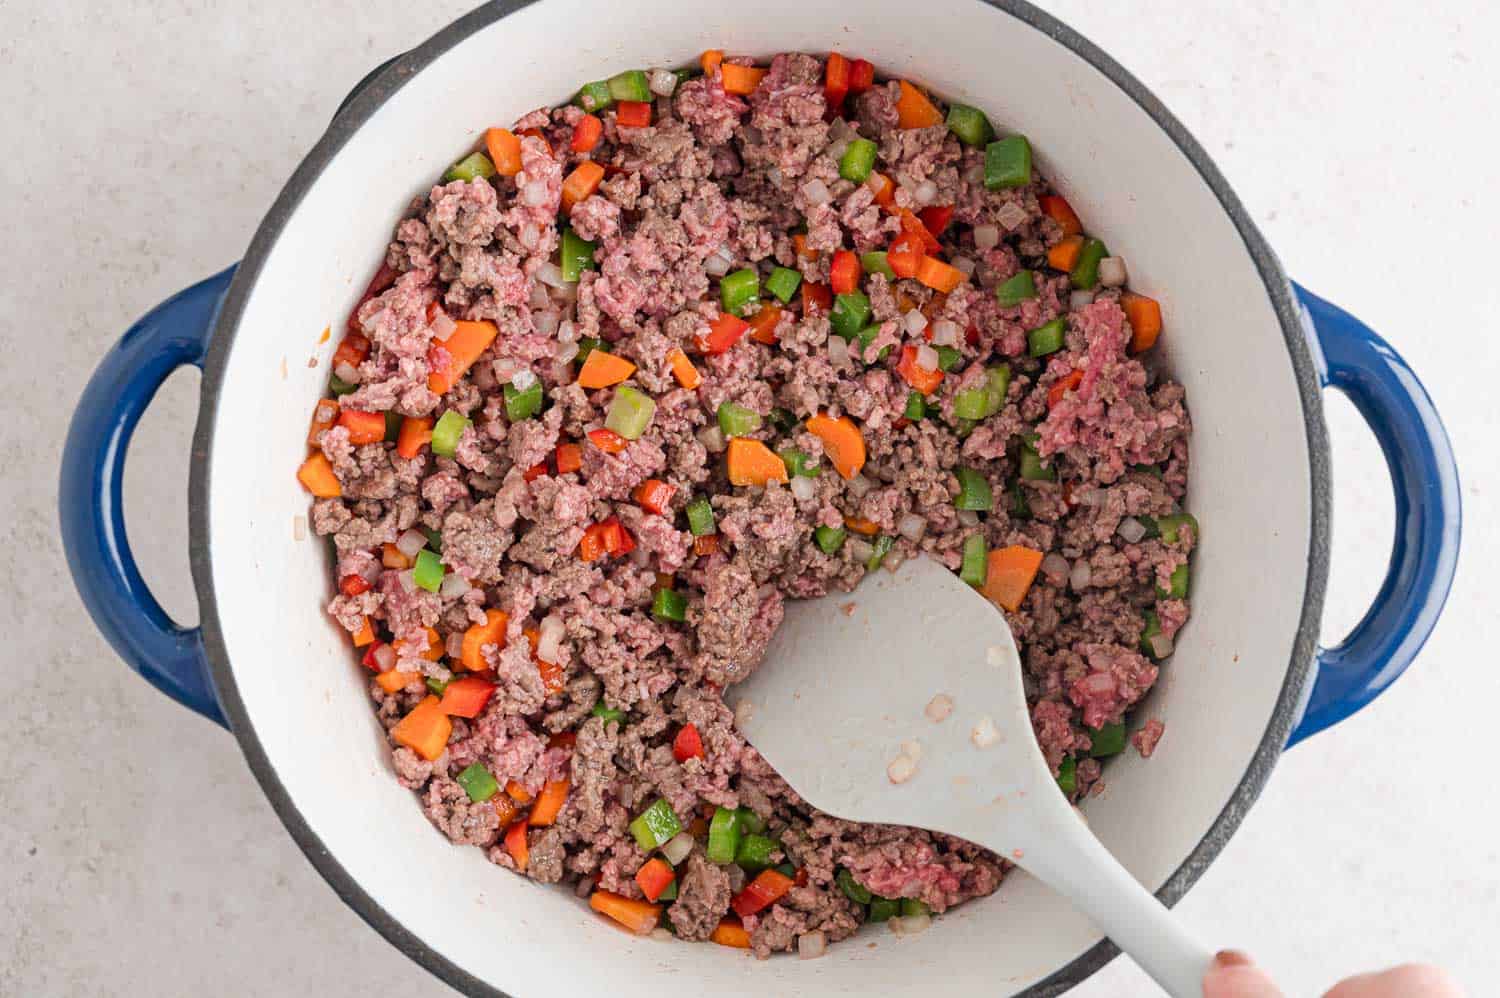
Cook the beef until it’s no longer pink, chopping it into small pieces as it browns. The veggies should be quite soft too.
Add your little bowl of spices, stirring and cooking for a minute or so. The spices will toast slightly which really enhances their flavor.
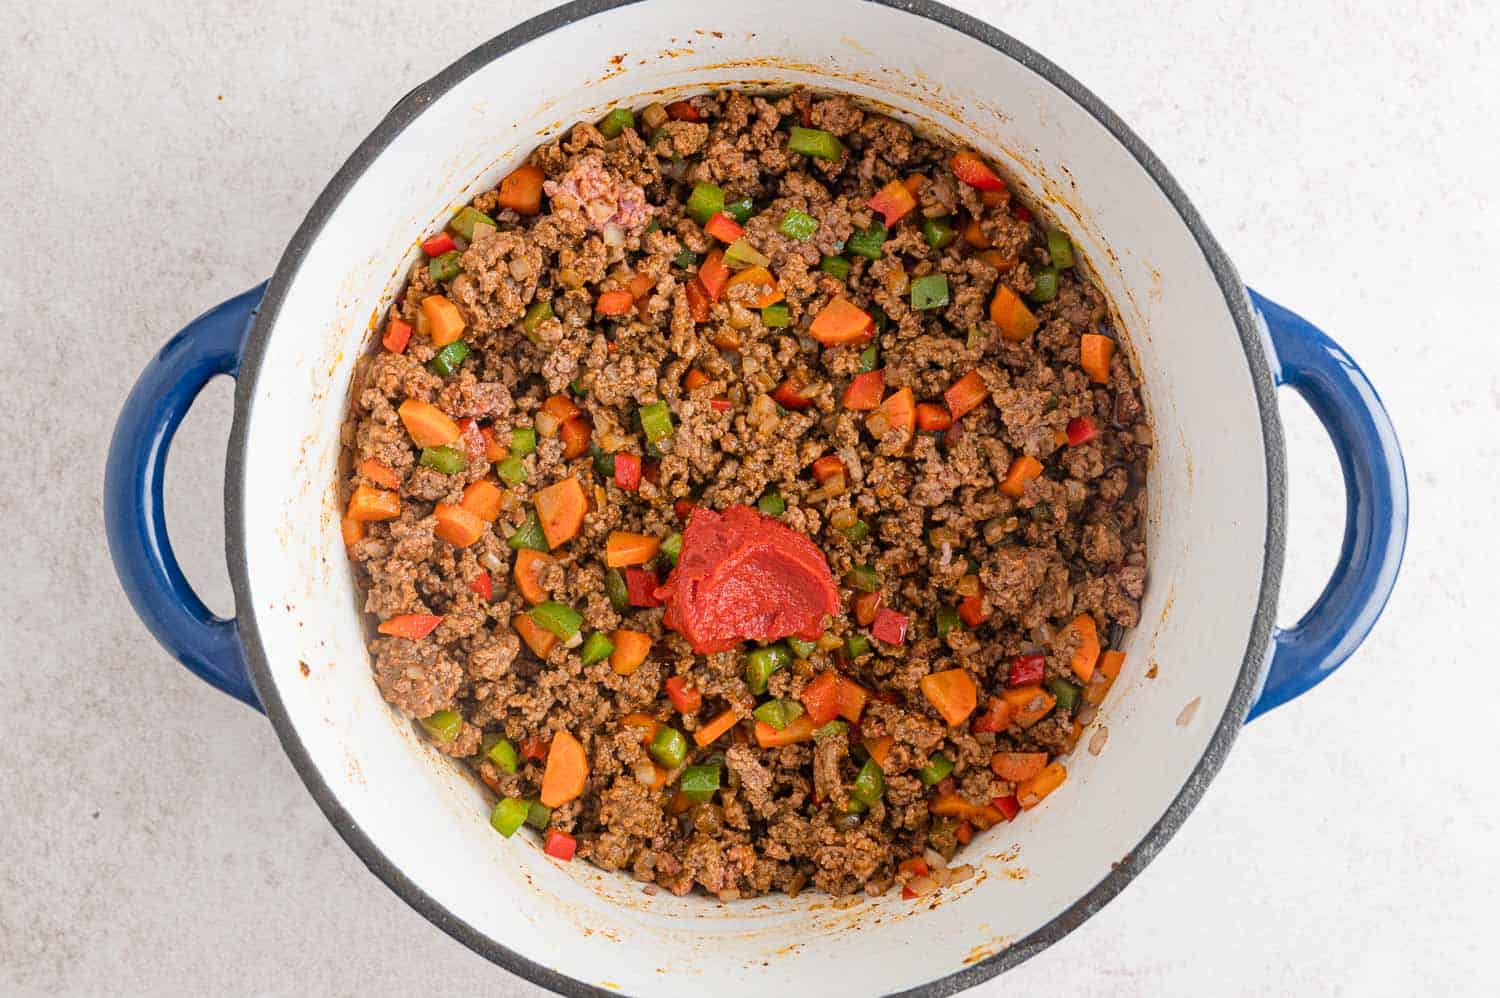
Stir in the tomato paste (not the whole can, just a couple tablespoons).
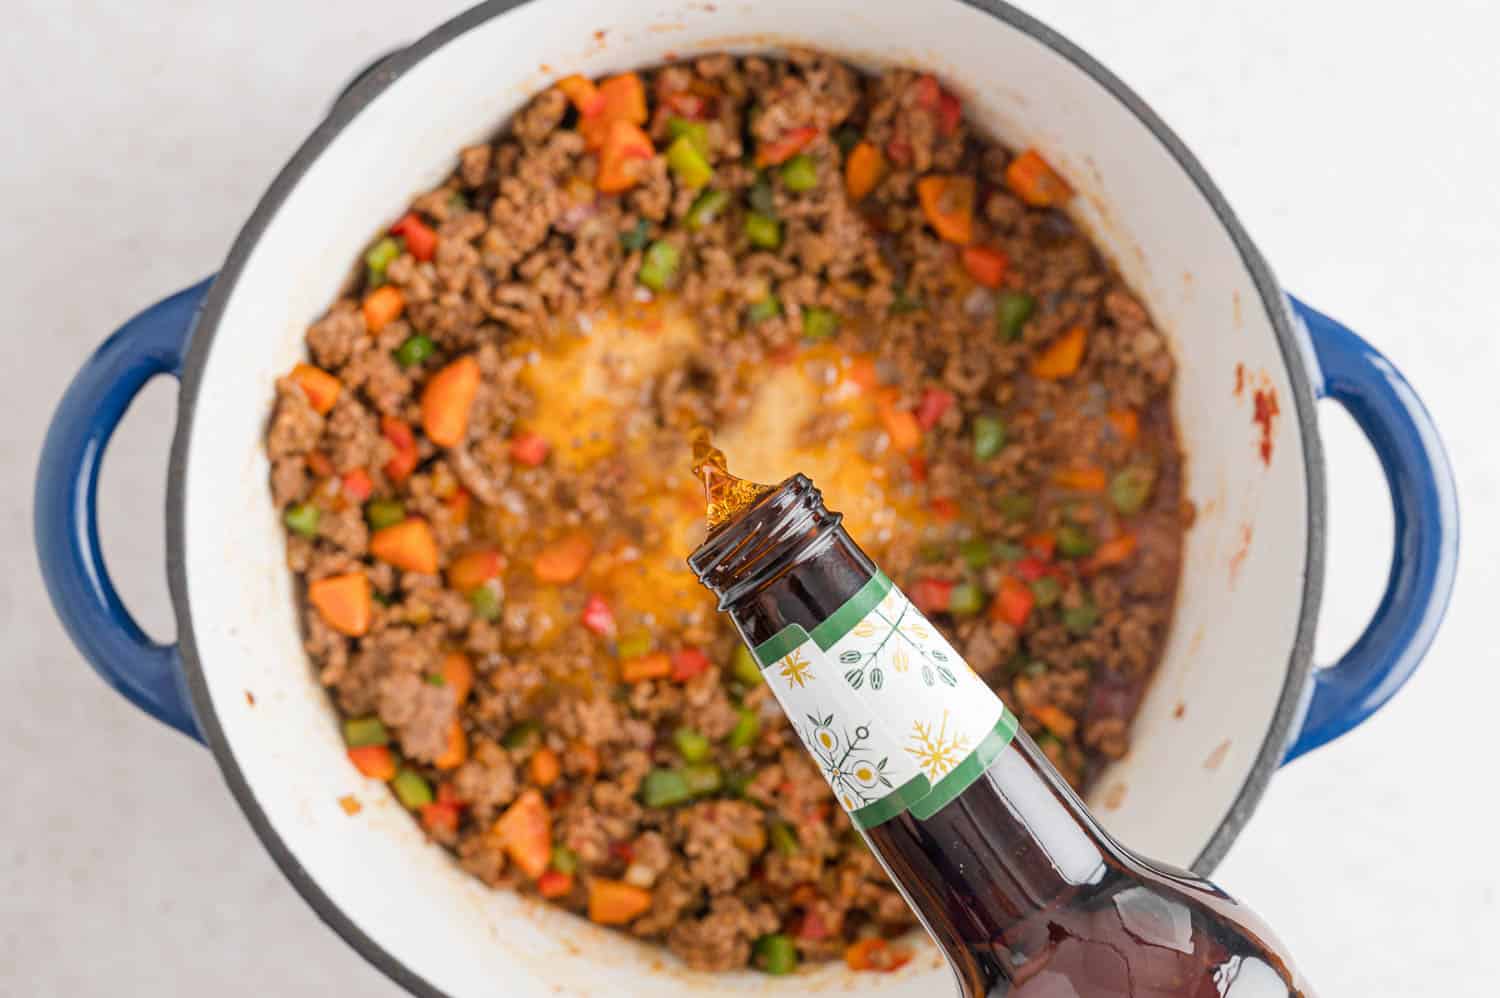
Pour in the beer, bringing everything to a boil, and scrape the bottom of the pan to remove any browned bits.
Throw in the tomatoes and beans, and a bay leaf, and bring the chili to a simmer.
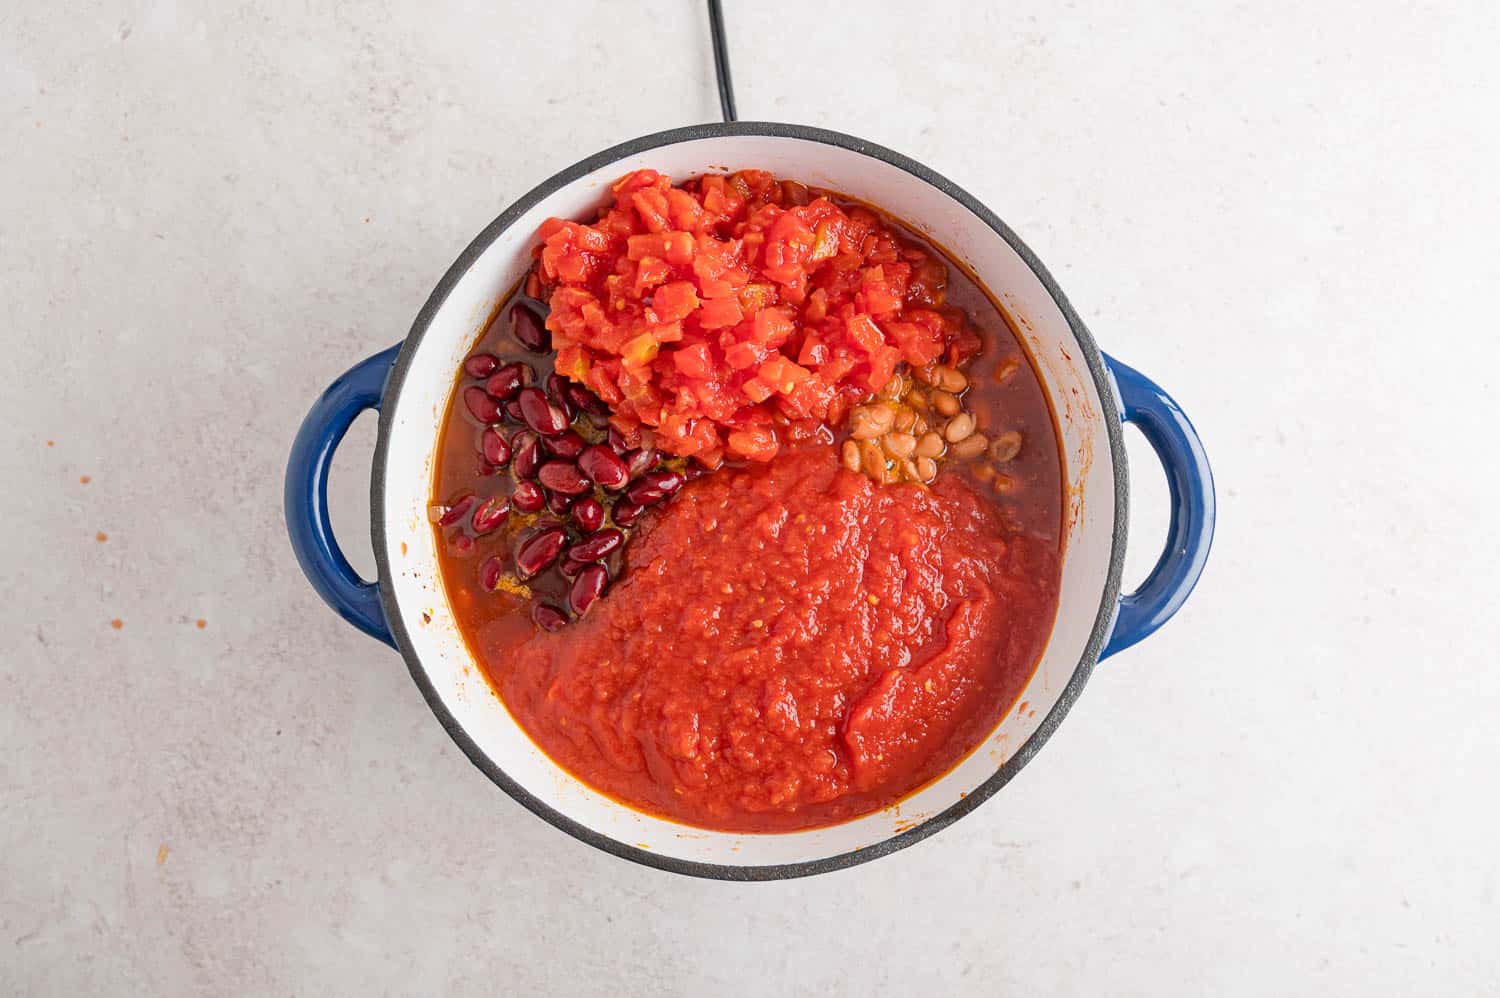
Turn the heat down and simmer the chili for at least an hour. At this point, you could put the chili into a slow cooker to simmer on Low until you’re ready to serve it.
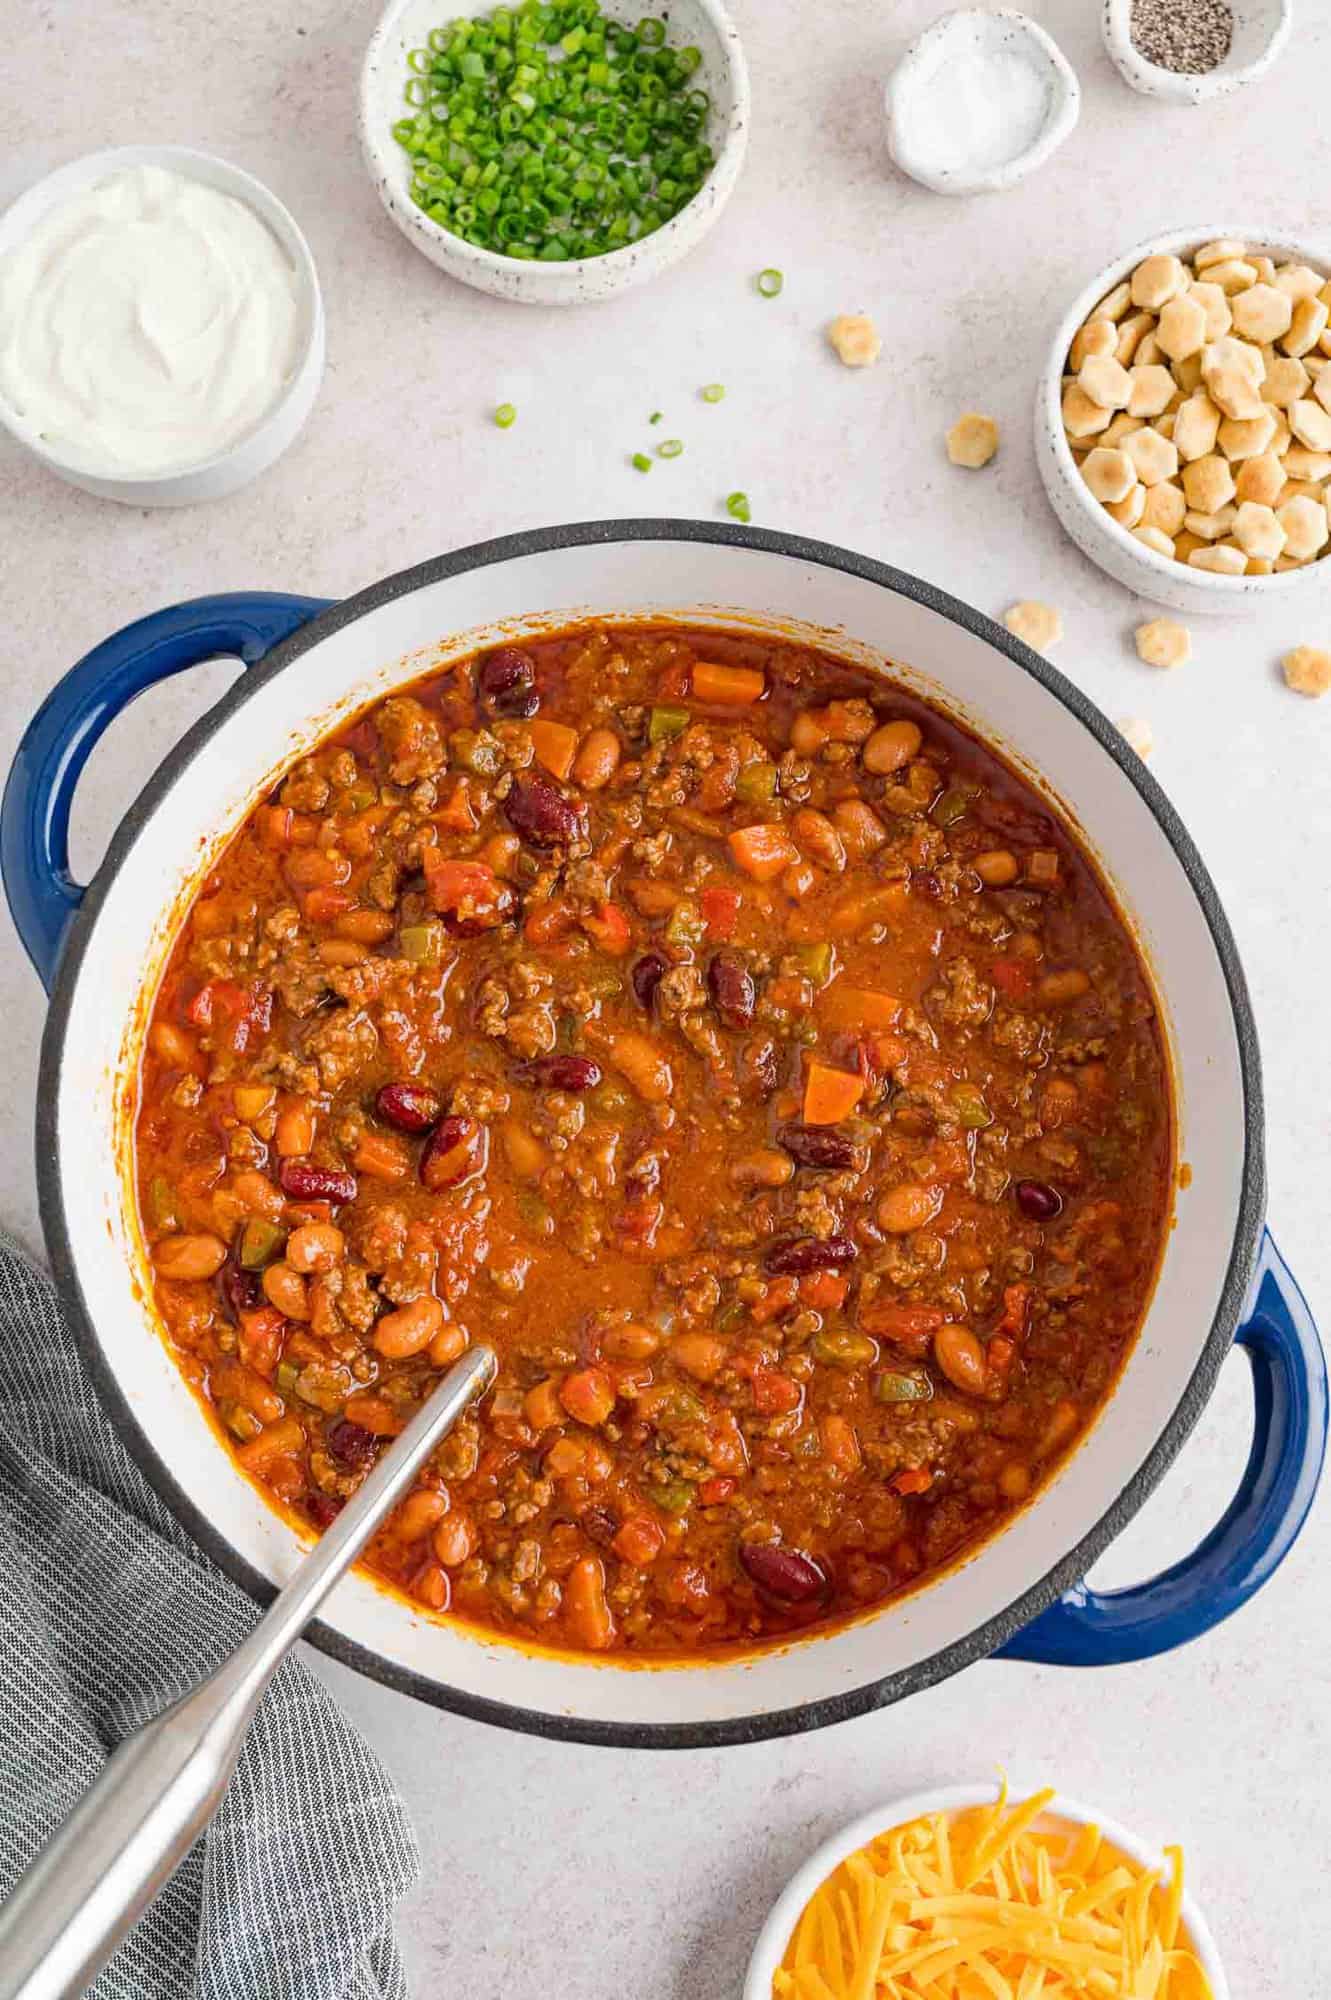
Your work is pretty much done. All you have to do now is give the chili a stir now and then and decide which toppings you want to use. Before you serve the chili, give it a little taste test. Add more salt, if needed. If you think the spice level needs a little boost, add another pinch of cayenne pepper.
If you’re looking for side dishes, homemade corn bread or corn muffins go great with chili. Nobody would turn down warm whole wheat biscuits, no knead whole wheat bread, or crusty Dutch oven bread, either.
Enjoy!
FAQs
Pinto beans or kidney beans are most commonly used in chili. They are large enough and firm enough to hold their shape without turning soft and mushy. However, feel free to experiment with different varieties. Black beans are a great choice for chili. Cannelini beans are white kidney beans and tend to be a little softer. Great Northern or navy beans work well, too.
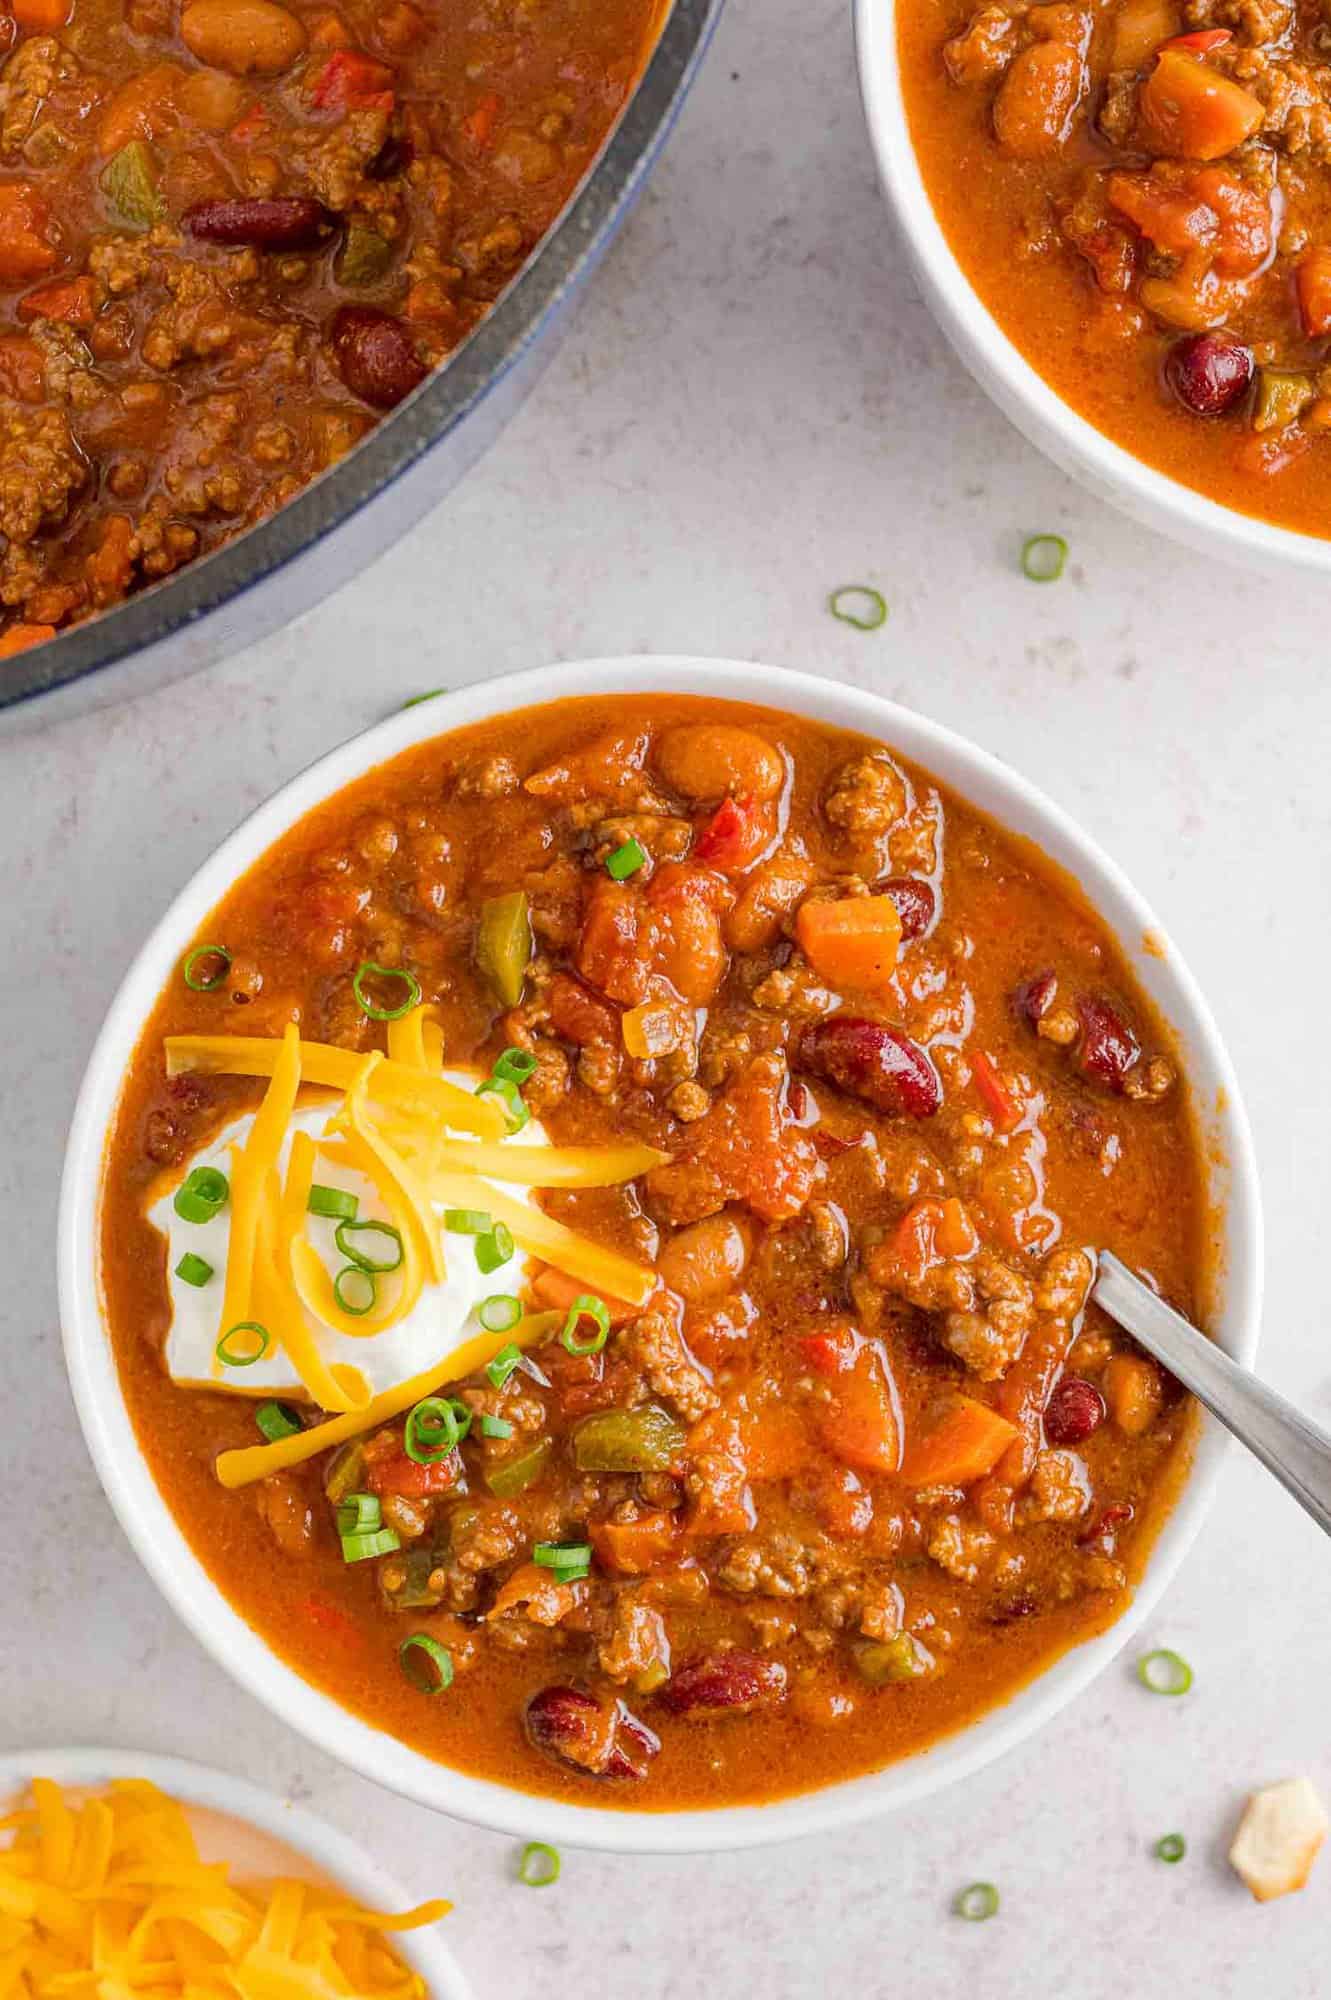
Make It Your Own
Feel free to make any of the substitutions mentioned in the What You’ll Need section. Make it into your own award winning chili. Use ground turkey instead of ground beef, or a combination. Add more or use less spice. Add garlic if you love a garlicky chili. Omit the beer, if you prefer.
If this recipe doesn’t ring your dinner bell, then try one of the recipes below.
Make-Ahead Ideas
This chili is a good make-ahead recipe. You can simmer it in a crockpot for a few hours until you’re ready to serve it. Some folks are of the opinion that the longer chili simmers, the better it tastes.
The chili freezes and reheats well, too. The recipe makes a big batch so you can easily freeze a portion of it for future dinners.
To get a head start on making the chili, you’ll save at least 10 minutes if you chop the onions, peppers, and carrots up to a day ahead of time. Store them in a covered container in the refrigerator. The spices can be measured out ahead of time, too.
Storage & Reheating Tips
Leftover chili can refrigerated for up to four days, as long as it is chilled promptly. If you have a lot left over, it’s a good idea to spread it out in a large pan so it cools quickly. The chili can be frozen for four to six months in a freezer-safe container. Thaw overnight before reheating.
Reheat individual portions in the microwave; larger amounts can be reheated in a saucepan on the stove.
Leftover Love
Make loaded baked potatoes with leftover chili. Fill oven baked potatoes or air fryer baked potatoes with warm chili. Top with shredded cheese or sour cream.
Did you make this? Be sure to leave a review below and tag me @rachelcooksblog on Facebook, Instagram, or Pinterest!

servings
Prevent your screen from going dark
Feeding a crowd? Make this beef chili with beans and serve it with all the toppings everyone loves. It freezes well, too.
Ingredients
- 1 tablespoon olive oil
- 2 pounds lean ground beef (see note)
- 1 cup diced yellow onion, ¼ inch dice (1 medium onion)
- 1 cup diced green bell pepper, ¼ inch dice (1 bell pepper)
- 1 cup diced red bell pepper, ¼ inch dice (1 bell pepper)
- 1 cup diced carrots, ¼ inch dice (about 2 large carrots)
- 1 teaspoon kosher salt
- ¼ teaspoon coarse ground pepper
- 1 bottle (12 ounces) beer (Shiner Bock or Modelo Negro are good choices)
- 2 tablespoons chili powder, more to taste
- 2 teaspoons ground cumin
- ½ teaspoon smoked paprika, more to taste
- ⅛ teaspoon cayenne pepper, more to taste
- 2 tablespoons tomato paste
- 1 can (15 ounces) pinto beans, rinsed and drained
- 1 can (15 ounces) kidney beans, rinsed and drained
- 1 can (28 ounces) crushed tomatoes
- 1 can (14.5 ounces) diced tomatoes, undrained
- 1 bay leaf
- sour cream (or plain Greek yogurt), avocado, cilantro, green onions, sharp cheddar, oyster crackers, crushed tortilla chips (optional toppings)
Instructions
-
In a large heavy pot or Dutch oven, heat oil over medium-high heat. Add ground beef, season with salt and pepper, and break up into pieces. Add onion, peppers, carrots and continue to brown all ingredients until meat is almost cooked through.
-
Add spices and continue to cook for about one minute. Add tomato paste and stir until combined. Add beer and scrape any brown bits off the bottom of the pan. Add beans, tomatoes, and bay leaf. Bring to a boil and reduce to a simmer.
-
Continue to simmer uncovered for at least an hour, or until vegetables are tender. If desired, you can transfer the chili to a slow cooker and simmer it on Low until you’re ready to serve it. If chili becomes too thick for your liking, add water or beef broth to thin it out a little.
-
Taste chili before serving. Add more salt and/or cayenne, as desired. Serve with your choice of toppings.
Notes
- Makes about 12 cups. A serving is one generous cupful.
- You can use ground turkey (93% lean) instead of beef if you want. I like to do half beef and half turkey.
- This recipe is very versatile. Add different beans, a different beer, no beer (sub beef broth), whatever you want! No carrots? Just omit them.
- If you’re not feeding a crowd, this chili freezes GREAT!
Nutrition Information
Serving: 1cup, Calories: 271kcal, Carbohydrates: 25g, Protein: 26g, Fat: 7g, Saturated Fat: 2g, Polyunsaturated Fat: 1g, Monounsaturated Fat: 3g, Trans Fat: 0.3g, Cholesterol: 56mg, Sodium: 699mg, Potassium: 952mg, Fiber: 8g, Sugar: 7g, Vitamin A: 3386IU, Vitamin C: 42mg, Calcium: 91mg, Iron: 5mg
This website provides approximate nutrition information for convenience and as a courtesy only. Nutrition data is gathered primarily from the USDA Food Composition Database, whenever available, or otherwise other online calculators.

