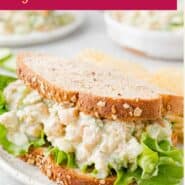
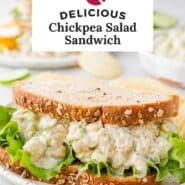
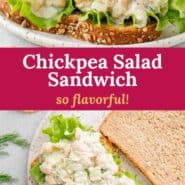
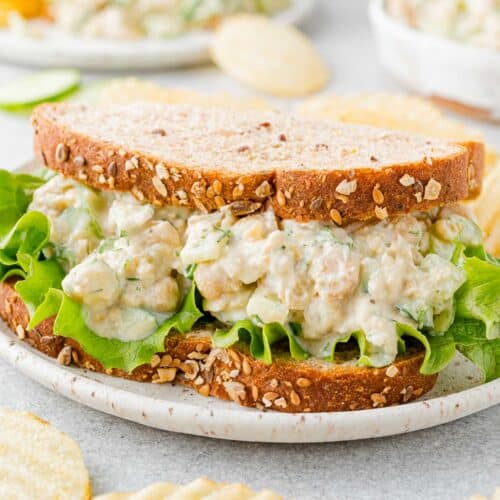
If you’re looking for a healthy and easy-to-make vegetarian meal that will leave you feeling full and satisfied, look no further. This chickpea salad sandwich recipe is just what you need!
Recipe Overview
Why you’ll love it: Easy, nutritious, and delicious—it doesn’t get much better than that!
How long it takes: 15 minutes
Equipment you’ll need: mixing bowl, small colander
Servings: 6
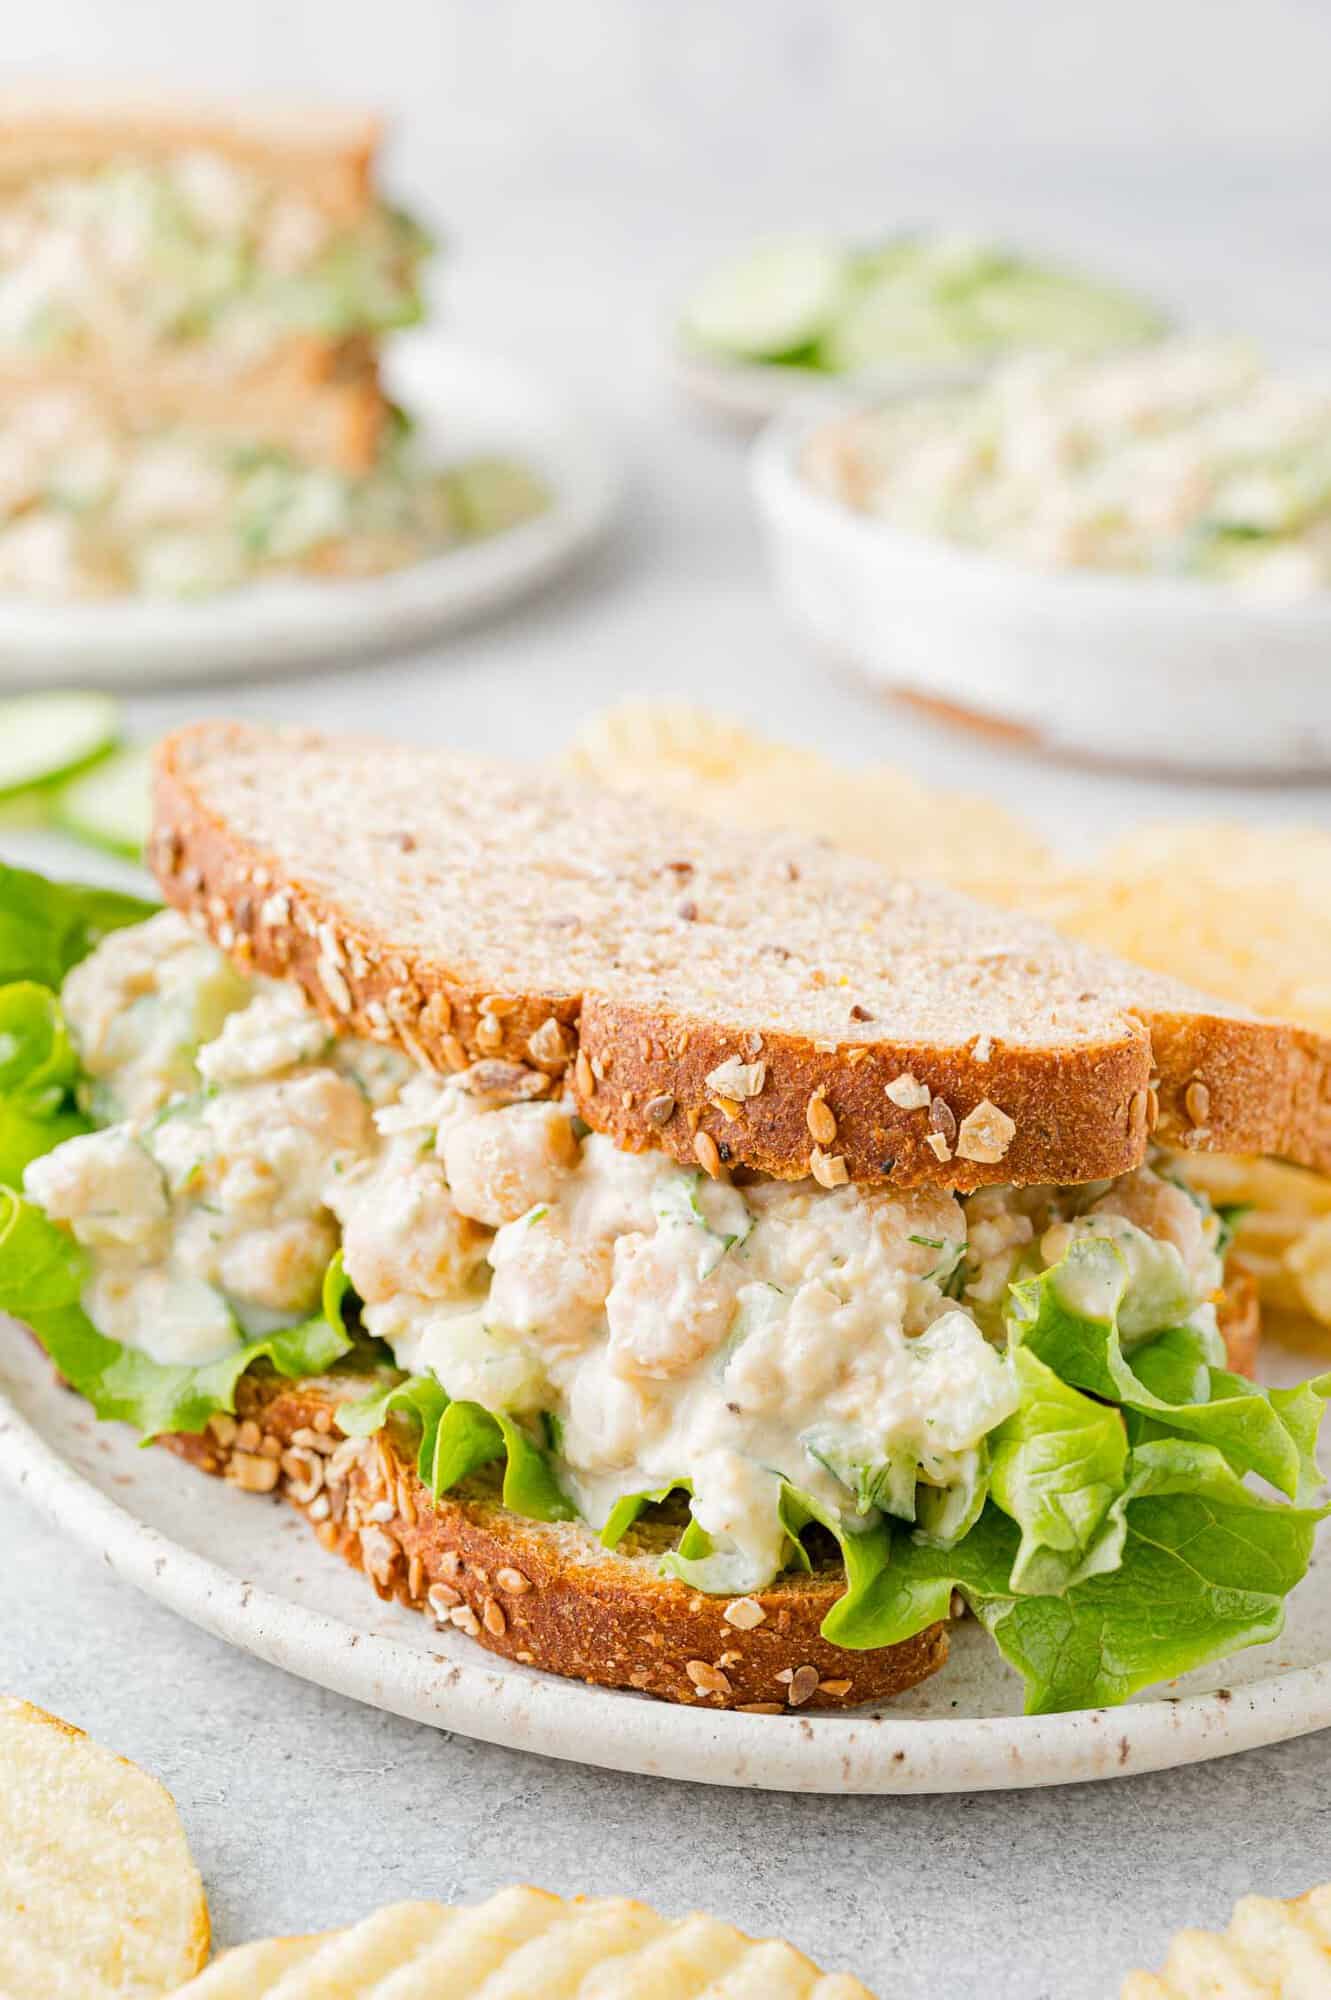
I love this satisfying chickpea salad sandwich and it definitely has become a staple in our house. It’s somewhat similar to tuna sandwiches; in fact, some folks refer to it as “chickpea of the sea” tuna salad.
The first time I made this chickpea salad sandwich recipe, I wasn’t sure my husband would like it. Vegetarian isn’t his first choice. However, as it turns out, my husband can’t get enough of this salad. He told me that he would be completely satisfied if I had chickpea salad sandwiches, my dill dip for vegetables, and chocolate chip cookies stocked at all times for his lunches.
Reasons to Love This Chickpea Salad Sandwich Recipe
- Flavorful. With fresh dill, bright lemon, and just a hint of garlic, the salad has plenty of flavor. Bites of crisp cucumbers and celery are a good contrast to the nutty chickpeas.
- Healthy. Chickpeas are a good source of protein and so is Greek yogurt. This is especially true if you eat them together. Combining beans (legumes) with dairy, grains, or seeds means you’ll be getting all nine essential amino acids needed for complete protein.
- Easy to make. This chickpea salad sandwich recipe will take you about 15 minutes to put it together.
- Keeps well. You’ll love that the salad can be made a day or two ahead of time. It can be refrigerated for three or four days so you can use it for sandwiches most of the week!
Ingredient List
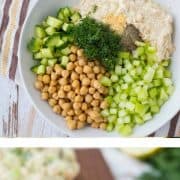
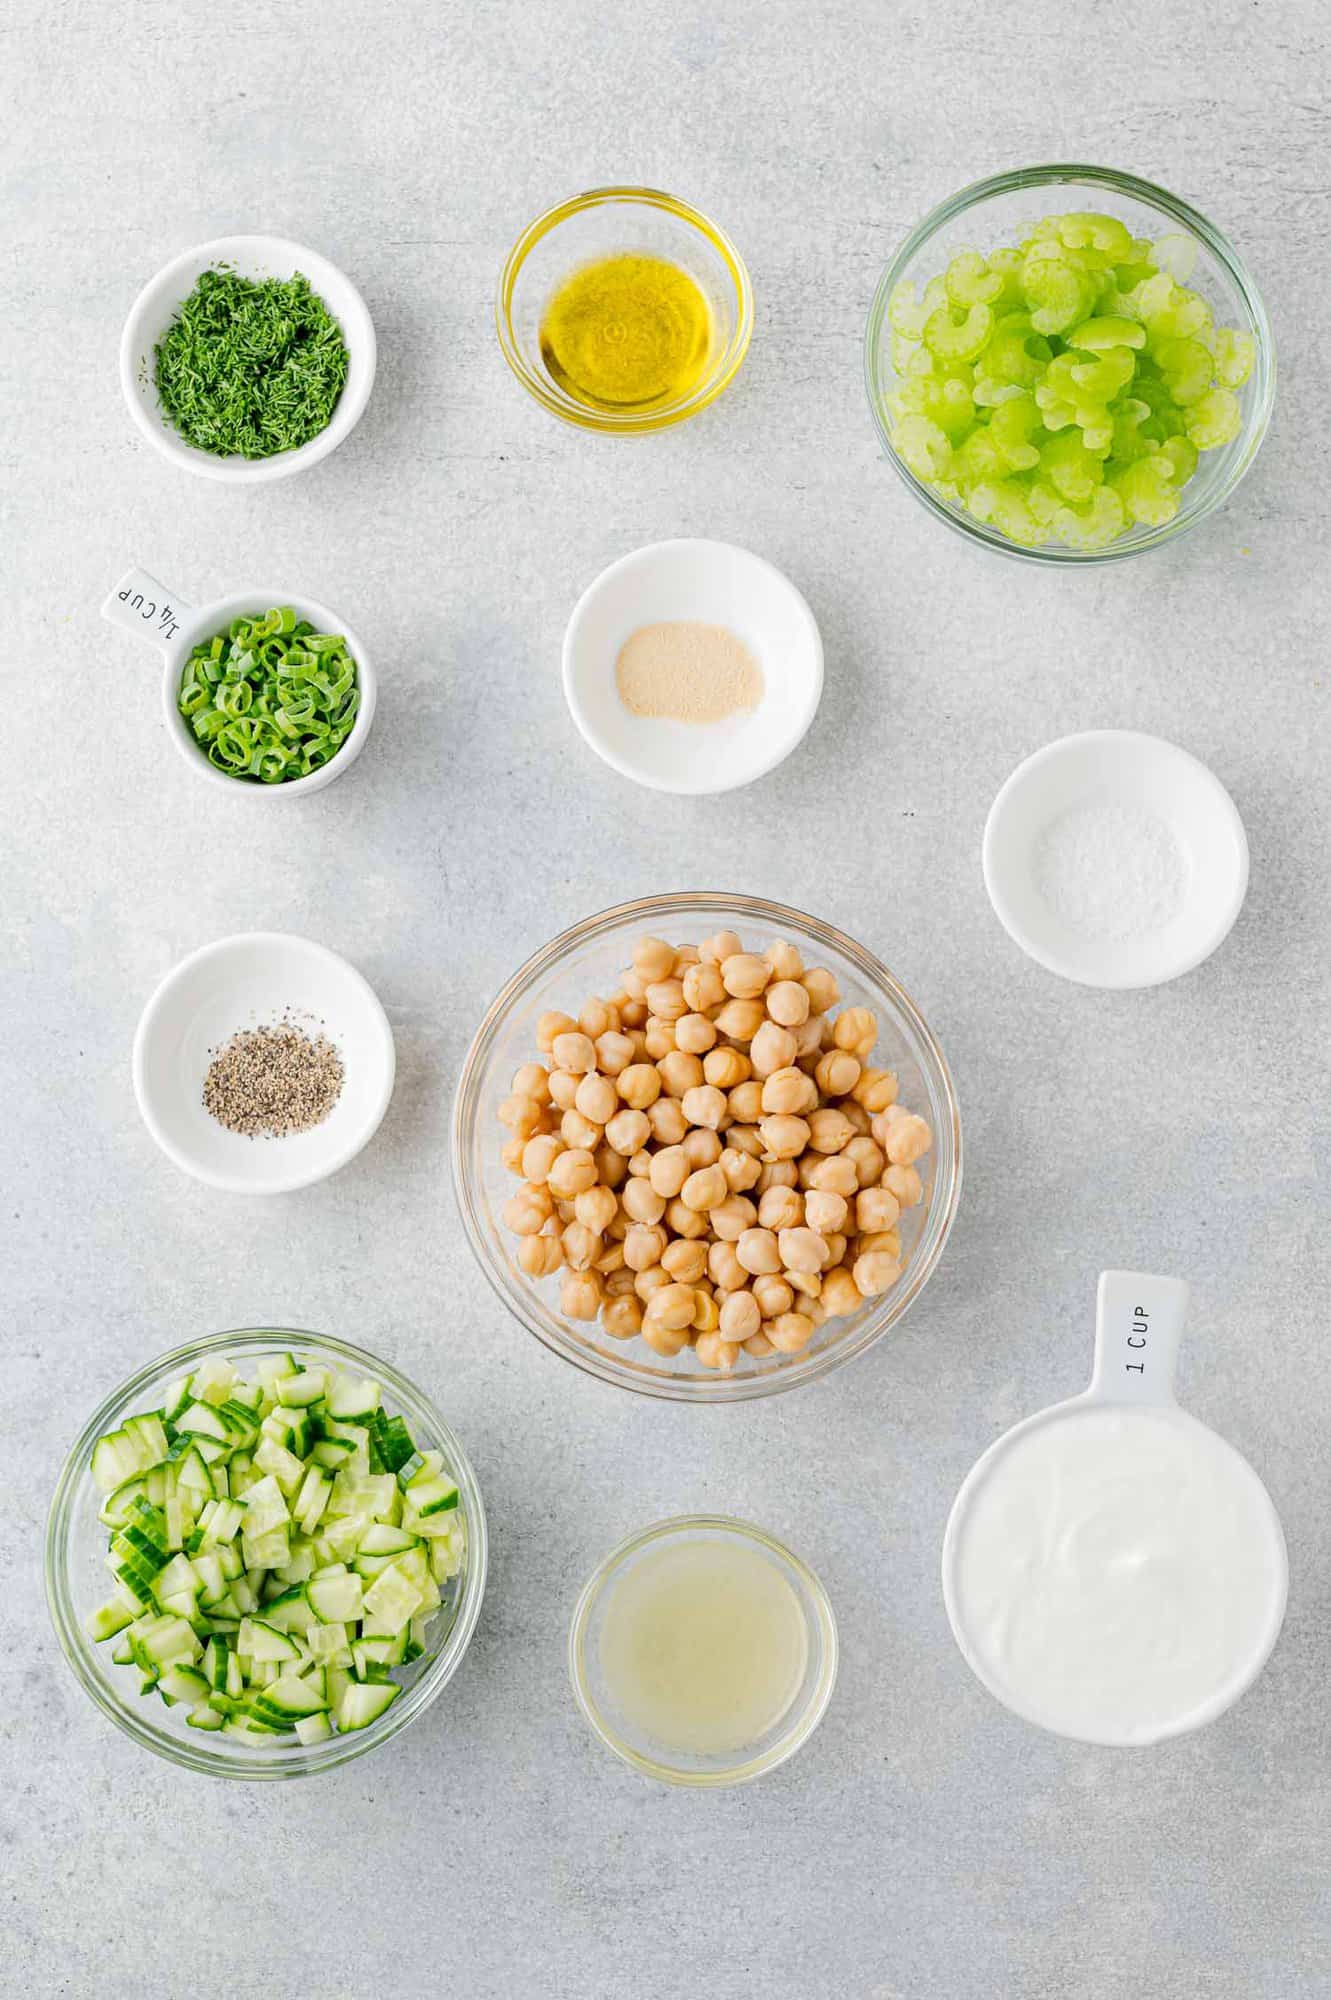
- Canned Chickpeas (2 cans): Sometimes chickpeas are called garbanzo beans. They are the same thing. Rinse and drain canned beans well to remove any residue from the canning liquid. Canned chickpeas are typically higher in sodium than dried chickpeas. Look for reduced or low sodium canned chickpeas, and rinse the beans before using, which removes up to 40% of the sodium (Bean Institute).
- Plain Nonfat Greek Yogurt: Yogurt is a healthier choice than mayo. If you prefer, full-fat or 2% Greek yogurt are also fine.
- Lemon Juice: I recommend using freshly squeezed lemons for fresh flavor.
- Extra-Virgin Olive Oil: No need for anything fancy here!
- Celery and Cucumber: Chopped celery and cucumber add flavor and texture. Finely chopped onion or green onions can be added if you like.
- Fresh Dill: The flavor of fresh dill is one of the key elements in the chickpea salad. Dried dill is acceptable (use 1 tablespoon) but you’ll find that fresh dill gives a much better flavor to the salad.
- Seasoning: Garlic powder, kosher salt, and coarse ground black pepper enhance the flavor of these chickpea salad sandwiches.
Cooking Tip
For consistency, finely chop the celery, cucumber, and onion (if using) about the same size as the chickpeas. This will make your sandwiches easier to eat. If you’re going to serve the chickpea salad without bread, it’s okay if the vegetables are diced larger.
How to make Chickpea Salad
Prep your ingredients by rinsing and draining the chickpeas. Chop the celery and cucumber. If you buy a wrapped English hothouse cucumber with tender skin, you don’t have to peel it first.
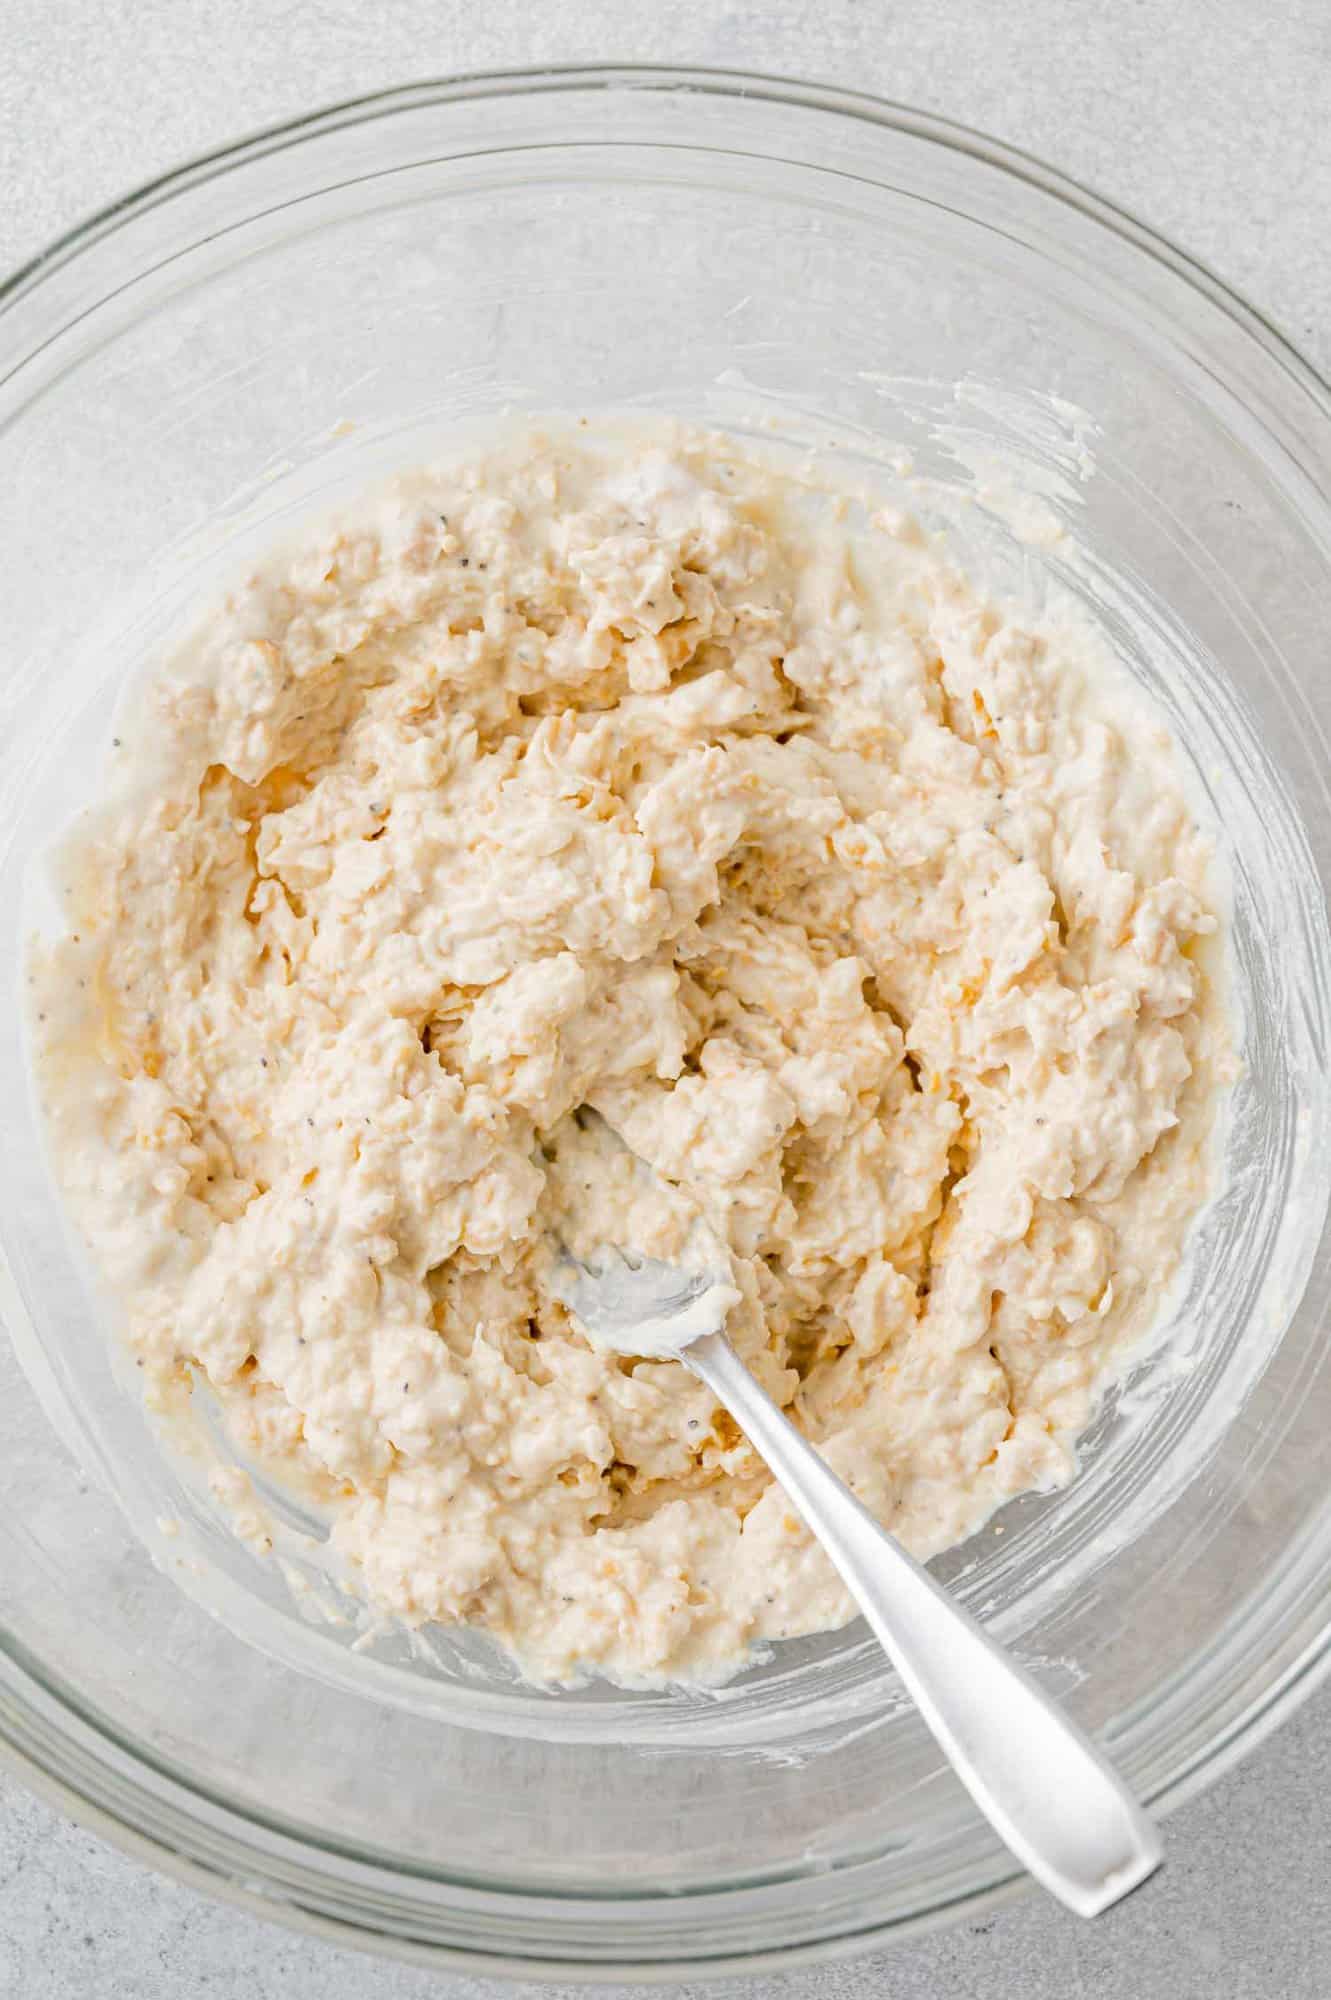
In a medium sized bowl, mash half of the chickpeas with a squeeze of fresh lemon juice, Greek yogurt, extra-virgin olive oil and the seasoning. A potato masher, pastry cutter, or fork can be used to mash the chickpeas. If you prefer, use a small food processor. Don’t overprocess the mixture; it should have a coarse texture.
Into this mashed bean mixture goes the remaining can of chickpeas (leave whole), veggies, and fresh dill for flavor. Stir well to make sure everything is evenly distributed. Refrigerate the salad until you’re ready to serve it.
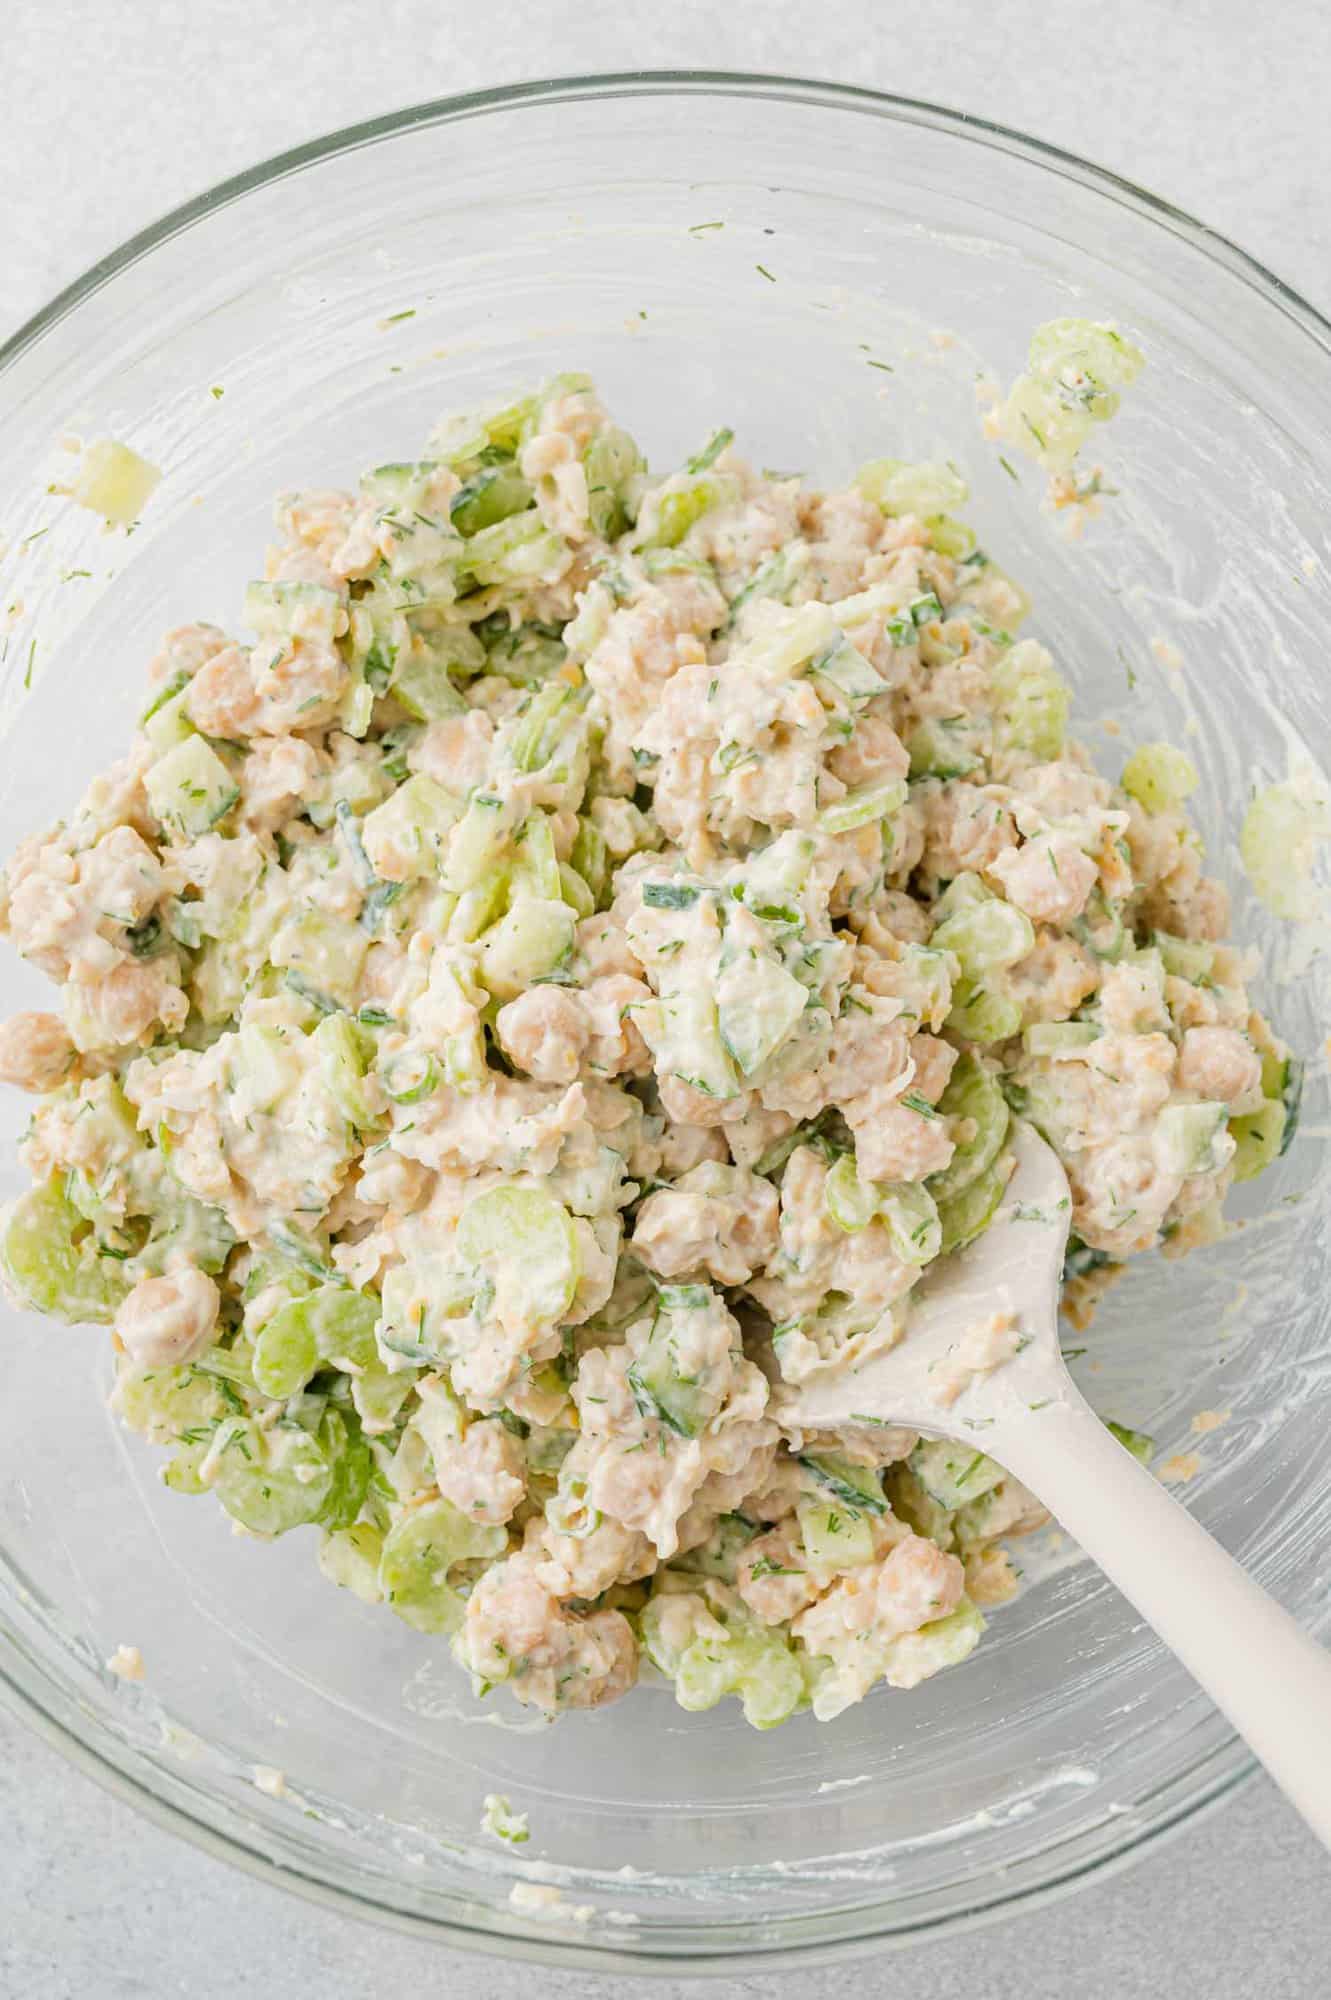
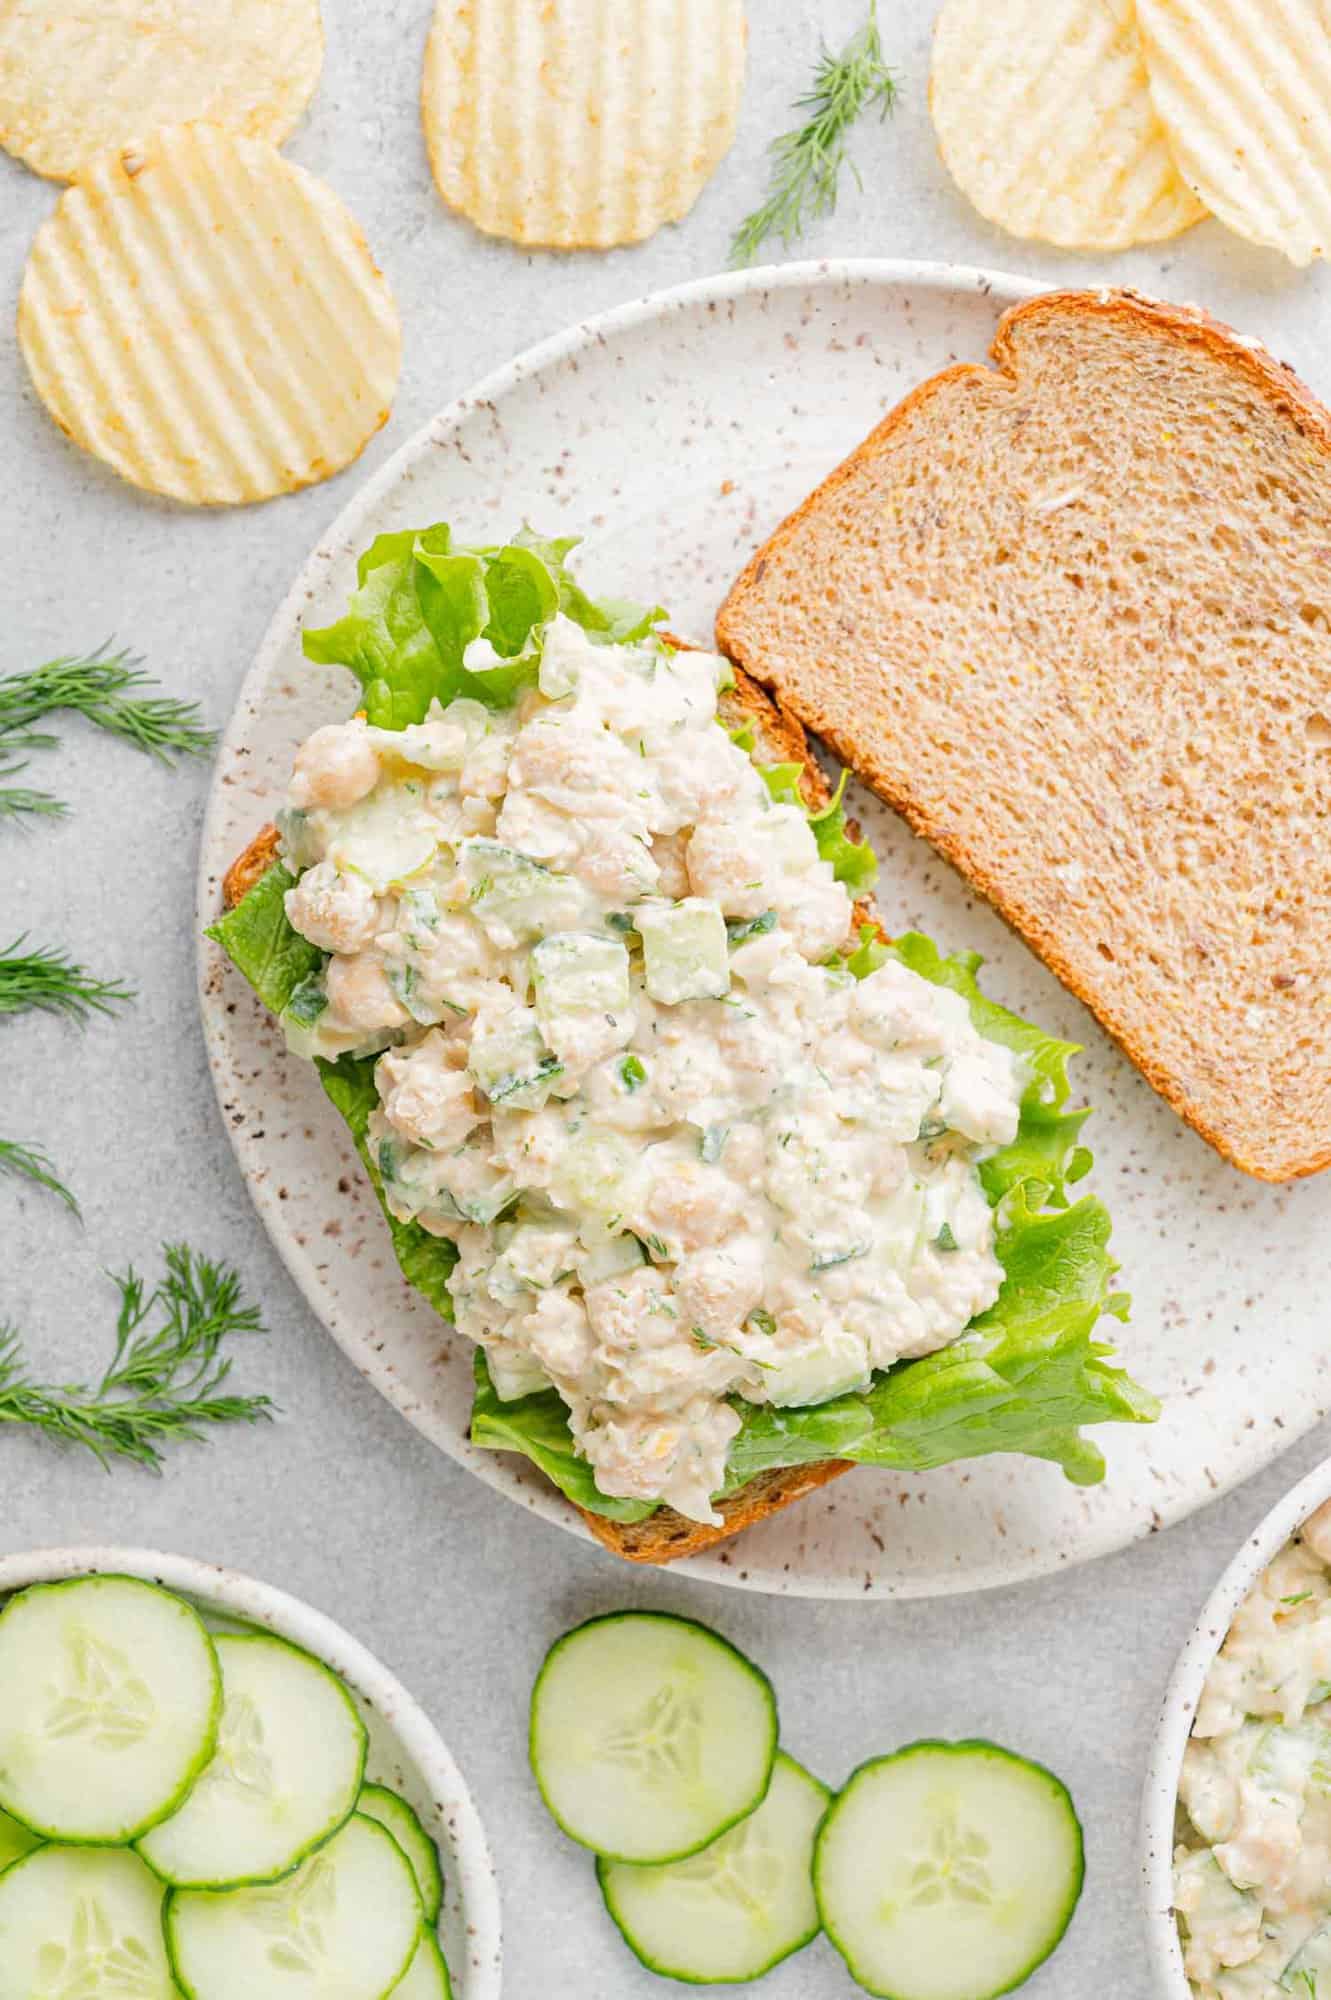
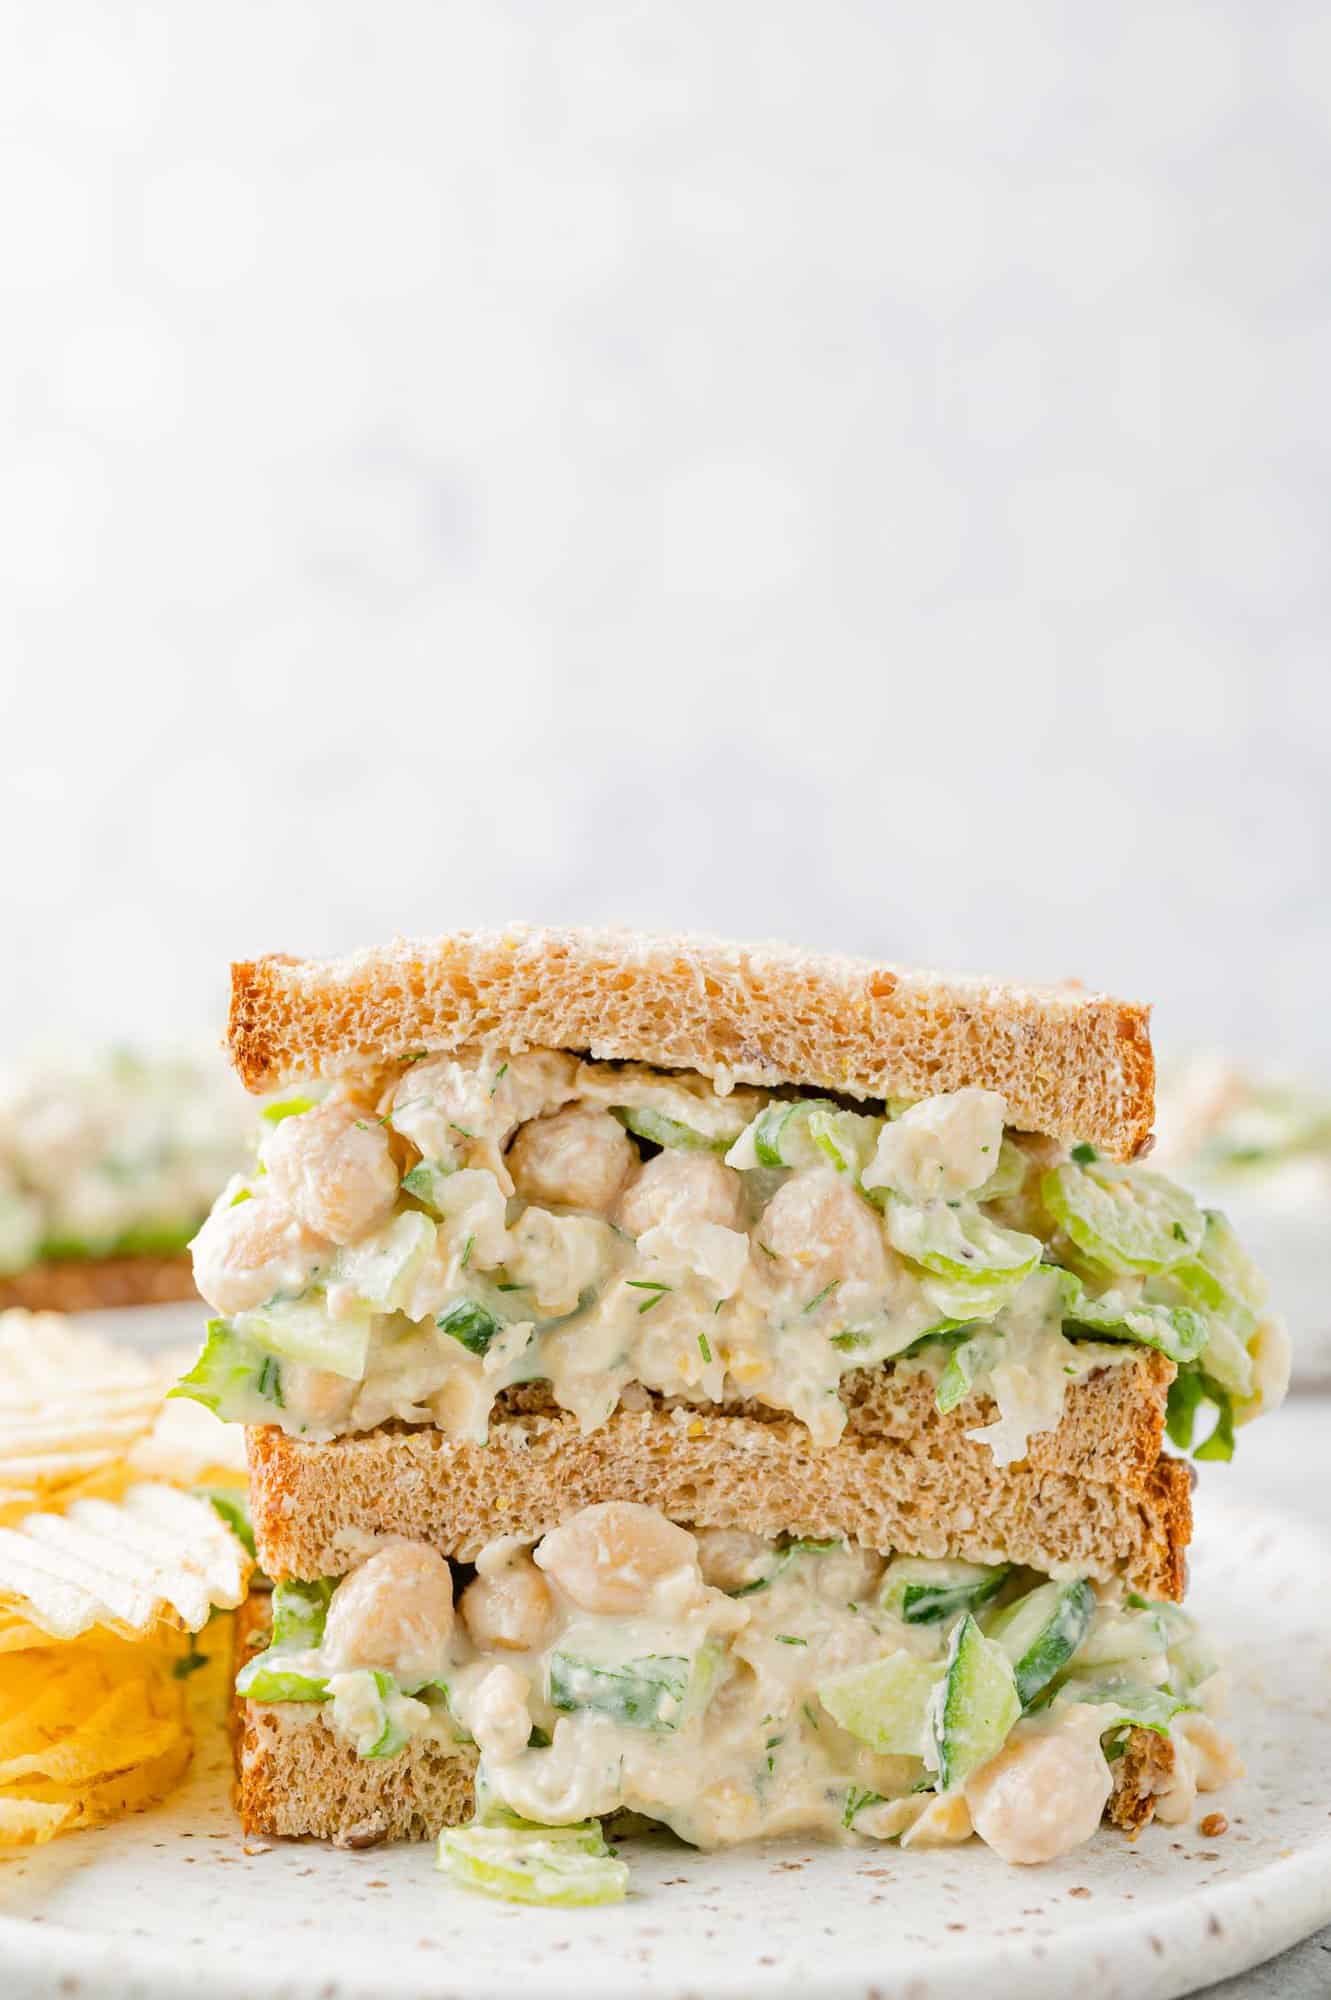
Serve the chickpea salad on thick slices of hearty bread, pita bread, wraps, tortillas, or on greens of your choice.
Top your sandwich with lettuce leaves, thinly sliced tomato, alfalfa sprouts, or other sandwich toppings.
FAQs
Can I use Dried Chickpeas for This Recipe?
Yes! You’ll need to cook 1 cup of dried chickpeas to equal the 3 cups of canned chickpeas used in this chickpea salad sandwich recipe.
How to make these Chickpea Salad Sandwiches your own
- Add more veggies: Feel free to get creative. Chopped radishes or green bell pepper are great. The salad is pretty versatile!
- Add tuna: For a non-vegetarian version, replace one can of the chickpeas with a 5 oz. can of solid white tuna (drained) to the salad. You can leave the chickpeas whole or mash some of them, whichever you prefer. If you love tuna, check out our tuna pizza, it’s a fun twist!
- More serving suggestions: You can tuck the chickpea salad into butter lettuce leaves or stuff it into pitas. It’s also a great topping for crackers.
What to serve with sandwiches
Storage & Make Ahead Tips
Refrigerate the salad promptly until ready to use. Sometimes the yogurt separates slightly; just give it a good stir before serving. It will keep for three to four days.
If I’m not using the chickpea salad to fill sandwiches, I like to store it in individual-sized containers so it’s ready to grab-and-go. Otherwise, I keep the salad in a single airtight container and assemble sandwiches as needed. I don’t recommend making several sandwiches all at once and storing them in the fridge.
Did you make this? Be sure to leave a review below and tag me @rachelcooksblog on Facebook, Instagram, or Pinterest!
servings
Prevent your screen from going dark
If you’re looking for a healthy and easy-to-make vegetarian meal that will leave you feeling full and satisfied, look no further. This chickpea salad sandwich recipe is just what you need!
Instructions
-
In a large bowl, use a potato masher or a fork to mash half of the chickpeas (1 can) with Greek yogurt, lemon juice, olive oil, garlic powder, salt and pepper until mostly smooth and combined (see note).
-
Stir in remaining chickpeas, celery, cucumber, and dill and mix until combined. Refrigerate until ready to serve.
-
To serve, spoon salad onto sliced bread, pita halves, or wraps. Add lettuce if desired. Chickpea salad can be served without bread on a green salad of your choice.
-
If desired, top with additional fresh dill, lemon zest, tomatoes, sprouts, etc.
Notes
- A small food processor will also work well to mash the chickpea mixture. Don’t overprocess; the mixture should have a coarse texture.
- For best sandwich consistency, chop celery and cucumber about the same size as the chickpeas.
- If desired, add ¼ to ½ cup finely diced red onion or chopped green onions. Finely chopped radishes or bell pepper is good, too.
- If you prefer, substitute ½ cup mayonnaise for half of the yogurt.
- Nutrition information is for salad only and does not include bread, lettuce, or garnishes. To reduce sodium content, buy low sodium chickpeas.
- If salad separates slightly, stir well to combine prior to serving.
Nutrition Information
Serving: 0.75cup, Calories: 115kcal, Carbohydrates: 13g, Protein: 7g, Fat: 4g, Saturated Fat: 1g, Polyunsaturated Fat: 1g, Monounsaturated Fat: 2g, Trans Fat: 0.002g, Cholesterol: 2mg, Sodium: 334mg, Potassium: 247mg, Fiber: 4g, Sugar: 2g, Vitamin A: 258IU, Vitamin C: 5mg, Calcium: 78mg, Iron: 1mg
This website provides approximate nutrition information for convenience and as a courtesy only. Nutrition data is gathered primarily from the USDA Food Composition Database, whenever available, or otherwise other online calculators.
